


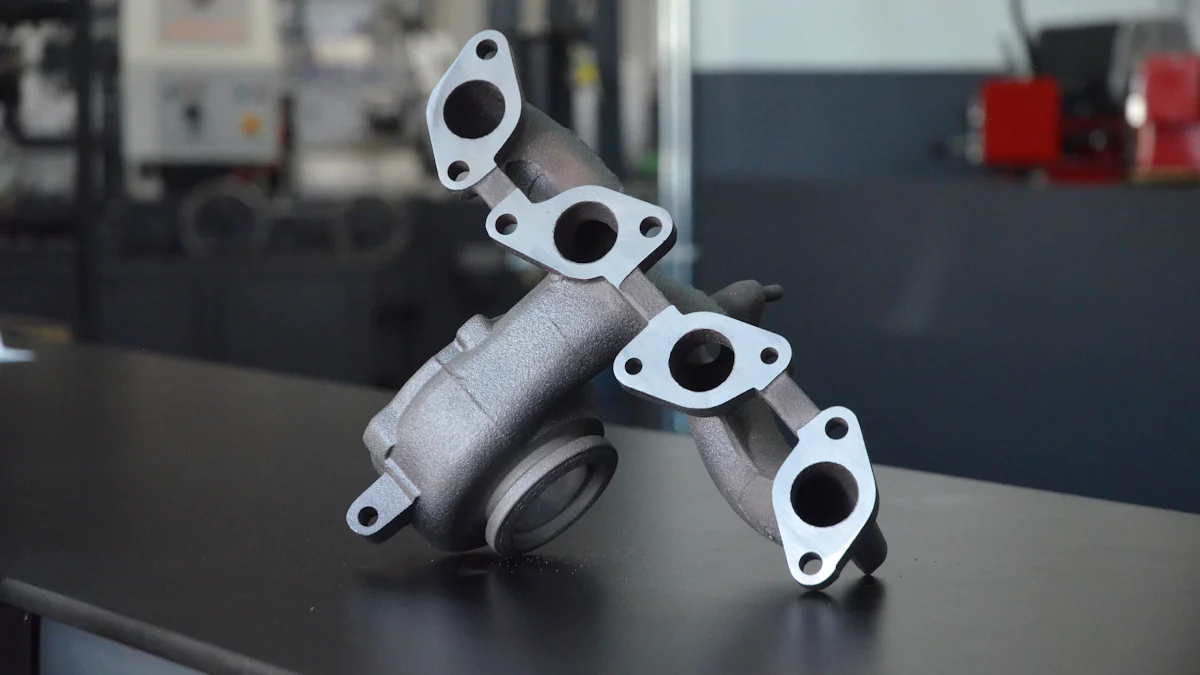
Engine Exhaust Manifold plays a crucial role in a vehicle’s exhaust system, enduring extreme temperature variations. This component, typically a simple cast iron unit, gathers exhaust gases from multiple cylinders and channels them to the exhaust pipe. Signs of a failing 1999 Honda Civic Exhaust Manifold include abnormal noises, decreased fuel efficiency, and the illumination of the check engine light. Understanding the process of Exhaust Manifold Replacement is essential for maintaining optimal vehicle performance.
Tools and Preparation
When preparing to replace the 1999 Honda Civic Exhaust Manifold, it is crucial to have the necessary tools and take the required precautions.
Required Tools
To effectively carry out this task, one must gather the essential tools for a seamless process. Wrenches and Sockets are indispensable for loosening and tightening bolts during the replacement. These tools provide the necessary torque to ensure a secure fit. Additionally, Safety Gear such as gloves and goggles should be worn to protect oneself from any potential hazards that may arise during the procedure.
Preparing the Vehicle
Before starting the replacement process, it is vital to prepare the vehicle adequately. Lifting the Chassis is an initial step that allows easy access to the underside of the car where the exhaust manifold is located. By elevating the chassis, one can maneuver more comfortably and efficiently during the replacement. Moreover, Disconnecting the Battery is a safety measure that prevents electrical mishaps while working on the exhaust system. Removing power from the battery reduces any risk of short circuits or electrical accidents.
In preparation for replacing the exhaust manifold on your 1999 Honda Civic, ensure you have all necessary tools at hand, including wrenches, sockets, and safety gear. Lift the chassis of your vehicle to facilitate access to critical components and disconnect the battery to prevent any electrical issues during maintenance.
Removing the Old Manifold
Locating the Exhaust Manifold
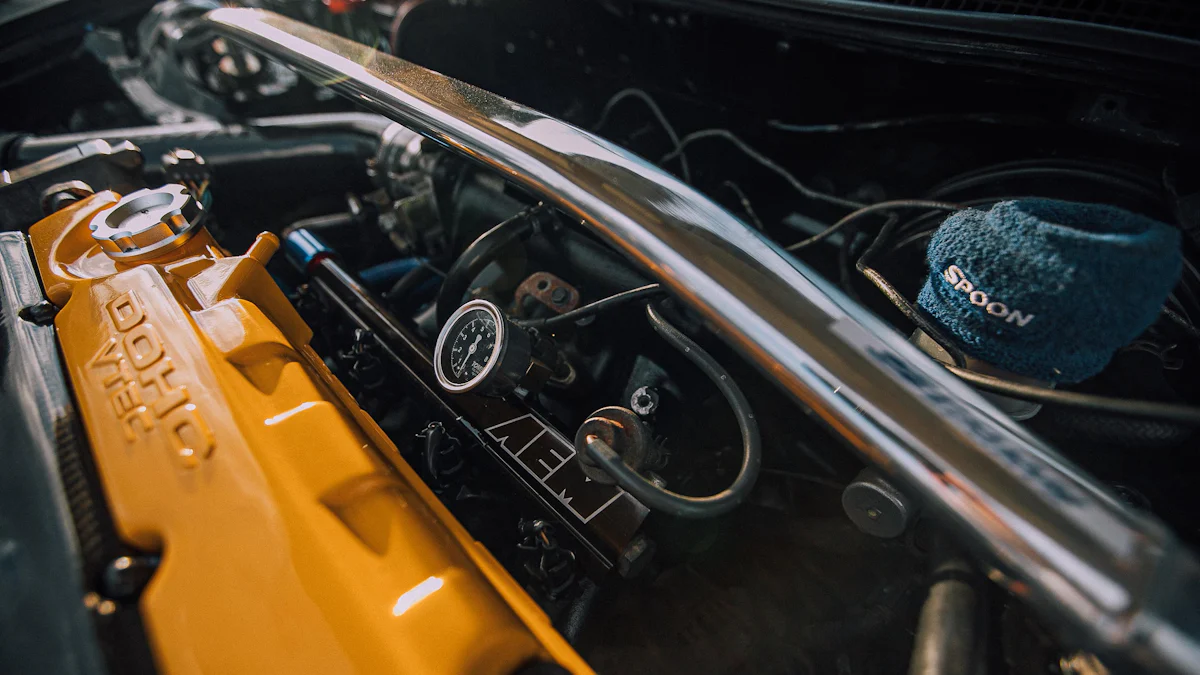
When replacing the Exhaust Manifold on a 1999 Honda Civic, it is crucial to first locate the component within the vehicle. Begin by conducting an Engine Bay Overview to familiarize yourself with the layout and positioning of various parts. This will provide you with a clear understanding of where the exhaust manifold is situated in relation to other engine components. By identifying the manifold’s specific location, you can proceed with confidence in executing the replacement process effectively.
Step-by-Step Removal
To successfully remove the old Exhaust Manifold from your 1999 Honda Civic, follow a systematic approach that ensures each step is completed accurately and safely.
Removing the Heat Shield
Begin by addressing the heat shield that surrounds the exhaust manifold. This protective barrier shields nearby components from excessive heat generated during engine operation. Carefully unbolt and detach the heat shield, ensuring that all fasteners are removed securely. By removing this shield, you create unobstructed access to the exhaust manifold for subsequent removal steps.
Disconnecting the Exhaust Pipe
Next, focus on disconnecting the exhaust pipe connected to the manifold. The exhaust pipe serves as a conduit for directing exhaust gases away from the engine and out of the vehicle. To disconnect it, locate any clamps or bolts securing it to the manifold and carefully loosen them using appropriate tools. Once detached, set aside the exhaust pipe in a safe location to prevent any damage during further removal steps.
Unbolting the Manifold
With access now available and components disconnected, proceed to unbolt the old exhaust manifold from its mounting points on the cylinder head. Utilize suitable wrenches or sockets to loosen and remove each bolt systematically, ensuring that no fasteners are left behind. Exercise caution when handling these bolts to prevent damage or misplacement during removal.
Removing the Old Gasket
As part of removing the old Exhaust Manifold, pay close attention to any existing gaskets between the manifold and cylinder head. Gaskets play a vital role in sealing connections and preventing leaks within your vehicle’s exhaust system. Carefully detach and discard any old gaskets present, ensuring that surfaces are clean and free of debris before proceeding with installing a new gasket for optimal performance.
Installing the New Manifold
Comparing OEM and New Parts
Checking Compatibility
When installing a new Exhaust Manifold on your 1999 Honda Civic, it is crucial to compare the Original Equipment Manufacturer (OEM) part with the new component. Ensuring compatibility between the parts guarantees a seamless fit and optimal performance. Begin by examining both manifolds closely to identify any variations in design or dimensions. Confirm that the new manifold aligns perfectly with the mounting points on the cylinder head, ensuring a secure attachment. By checking compatibility meticulously, you prevent potential issues that may arise from using incompatible parts.
Inspecting the New Manifold
Before proceeding with installation, conduct a thorough inspection of the new Exhaust Manifold to verify its quality and integrity. Look for any signs of damage, such as cracks or deformities, that could affect its functionality. Ensure that all bolt holes are clean and free of obstructions to facilitate a smooth installation process. By inspecting the new manifold diligently, you guarantee that only a high-quality component is integrated into your vehicle’s exhaust system.
Step-by-Step Installation
Installing the New Gasket
To begin the installation process, place a new gasket between the Exhaust Manifold and the cylinder head of your 1999 Honda Civic. The gasket acts as a crucial sealant, preventing exhaust leaks and ensuring efficient operation of the exhaust system. Position the gasket accurately to align with both components, allowing for a tight seal when assembled. Carefully press down on the manifold to compress the gasket evenly, creating a secure connection that minimizes the risk of leaks.
Bolting the New Manifold
With the gasket in place, proceed to bolt down the new Exhaust Manifold onto the cylinder head of your vehicle. Utilize appropriate wrenches or sockets to tighten each bolt securely, ensuring uniform pressure across all fasteners. Start by loosely fitting each bolt before gradually tightening them in a crisscross pattern to distribute pressure evenly. By bolting down the manifold correctly, you establish a stable connection that withstands engine vibrations and thermal expansion during operation.
Reconnecting the Exhaust Pipe
After securing the manifold in place, reattach the exhaust pipe to complete the installation process. Align the exhaust pipe with the outlet on the manifold and fasten any clamps or bolts securely using suitable tools. Verify that all connections are tight and properly sealed to prevent exhaust leaks once operational. Reconnecting the exhaust pipe effectively restores continuity within your vehicle’s exhaust system, allowing for proper gas flow and emission control.
Reinstalling The Heat Shield
As a final step in installing your new Exhaust Manifold, reinstall any heat shields removed during disassembly. Position each shield around critical components near…
Testing and Final Steps
Checking for Leaks
Visual Inspection
To ensure the Exhaust Manifold replacement on your 1999 Honda Civic is successful, a visual inspection is crucial. Look closely at the connections between the new manifold, gasket, and cylinder head. Check for any signs of leaks such as visible exhaust residue or soot around the joints. Inspect the entire assembly meticulously to identify any areas that may require further tightening or adjustment.
Listening for Noises
In addition to a visual inspection, listening for unusual noises can help detect potential issues with the newly installed Exhaust Manifold. Start the engine and pay attention to any abnormal sounds emanating from the exhaust system. Unusual hissing, popping, or rattling noises could indicate leaks or loose components within the manifold assembly. By actively listening to the engine’s operation, you can pinpoint any irregularities that may require immediate attention.
Final Adjustments
Tightening Bolts
After confirming visual integrity and soundness of the Exhaust Manifold installation, proceed with final adjustments to secure its position effectively. Use appropriate tools to tighten all bolts connecting the manifold to the cylinder head with precision. Ensure that each bolt receives adequate torque to prevent loosening during engine operation. By systematically tightening all fasteners, you guarantee a stable connection that withstands vibrations and thermal stress.
Lowering the Vehicle
Once all adjustments are complete and you are satisfied with the installation of the new Exhaust Manifold, lower your vehicle back to ground level. Carefully remove any chassis supports used during elevation and ensure that no tools or equipment remain underneath the car. Lowering the vehicle safely marks the conclusion of this maintenance task, allowing you to prepare for testing and verifying the effectiveness of your replacement efforts.
Conclusion
Regular maintenance is key to ensuring the longevity and optimal performance of your vehicle. By staying on top of routine upkeep, you can address minor issues before they escalate, keeping your 1999 Honda Civic in top condition for years to come. As evidenced by dedicated owners who have prioritized maintenance, such as Anonymous User, who has diligently cared for their car and reaped the benefits of consistent attention.
Investing in maintenance not only preserves the functionality of your vehicle but also contributes to its overall value. While it may seem like a significant investment at times, the long-term benefits far outweigh the costs. Just like Anonymous User, who values their car’s reliability and plans to maintain it for as long as possible.
Remember, regular maintenance is not just about fixing problems; it’s about preventing them. By addressing issues promptly and conducting routine check-ups, you can avoid costly repairs down the road. So, whether it’s replacing a clutch or ensuring your exhaust system is in top shape, prioritizing maintenance will keep your 1999 Honda Civic running smoothly and efficiently.
Maintain your vehicle with care and attention to detail, following the footsteps of those who have experienced firsthand the rewards of regular maintenance. Your dedication today will ensure a reliable and enduring driving experience tomorrow.
- To summarize, the replacement process for the 1999 Honda Civic Exhaust Manifold involves meticulous steps from removal to installation. Each step ensures a seamless transition to enhance your vehicle’s performance.
- Regular maintenance is paramount in preserving your car’s longevity and efficiency. By addressing issues promptly, you can prevent costly repairs and maintain your 1999 Honda Civic in optimal condition.
- If faced with challenges during the replacement process, do not hesitate to seek professional assistance. Professionals can provide expertise and guidance to ensure a successful manifold replacement for your vehicle’s exhaust system.
Post time: Jun-18-2024