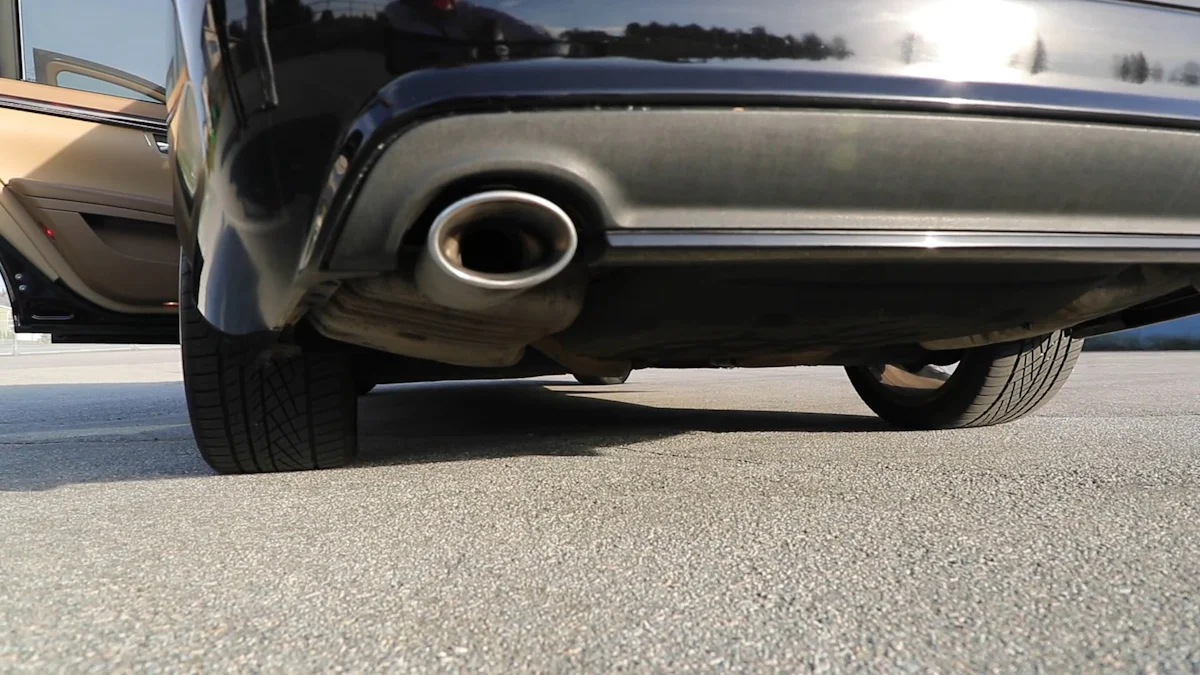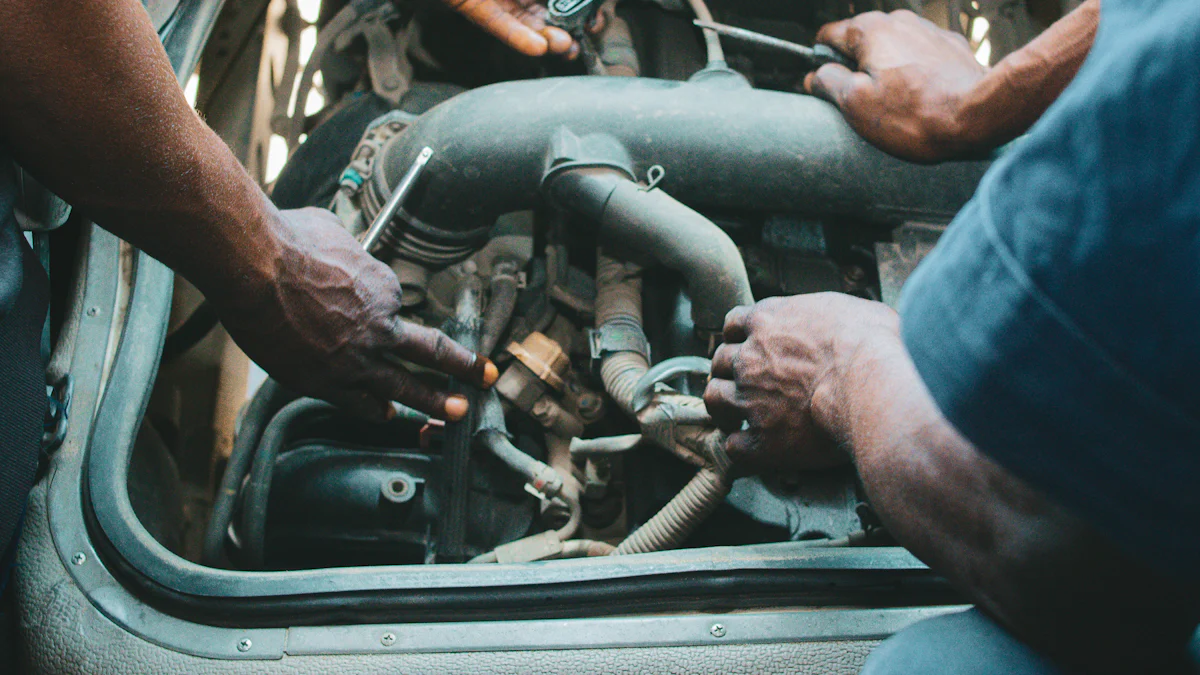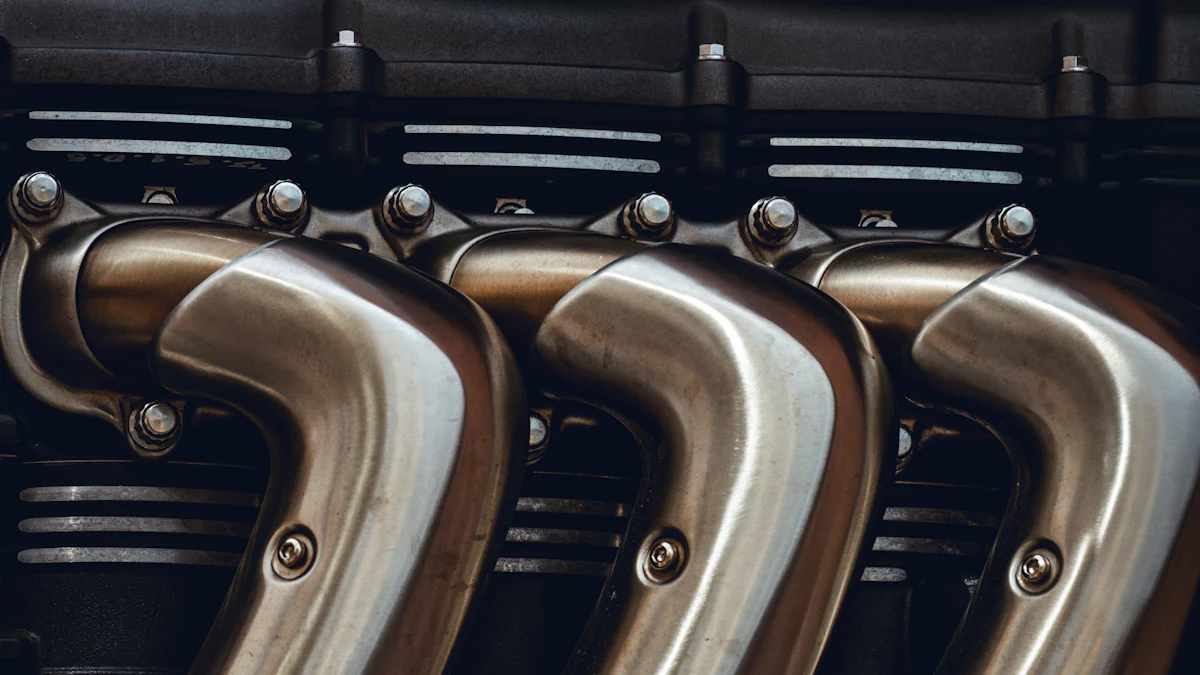
The 2007 Acura RDX, known for its exceptional performance and reliability, relies on a crucial component known as the Aftermarket Exhaust Manifold. This part plays a vital role in ensuring efficient exhaust flow and engine operation. In this comprehensive guide, enthusiasts and DIYers will uncover detailed steps to seamlessly replace the 2007 Acura RDX exhaust manifold. Whether for maintenance or upgrade purposes, this guide aims to empower individuals with the knowledge and skills needed to tackle this task effectively.
Tools and Parts Required
List of Tools
Basic Tools
- Regular wrench set
- Socket set
- Screwdriver set
- Pliers
Specialized Tools
- Torque wrench
- Oxygen sensor socket
List of Parts
Exhaust Manifold
- Genuine OEM Acura RDX Exhaust Manifold
- Aftermarket Exhaust Manifold
Gaskets and Seals
- Exhaust Manifold Gasket: For optimum performance from your RDX Exhaust Manifold Gasket, you should check this unit regularly, and replace it when it’s not working properly.
- Washer, Sealing (20MM): Washer, Sealing (20MM) is required for the replacement process.
- Washer, Sealing (12MM): Washer, Sealing (12MM) is required for the replacement process.
Optional: Werkwell Harmonic Balancer
- Werkwell Harmonic Balancer: Welcome to Werkwell, a leading company in the industry offering OEM/ODM services for customers. With a strong focus on high quality products at economical prices…
Preparation Steps
Safety Precautions
Working in a Well-Ventilated Area
To ensure a safe working environment, it is essential to operate in a space with proper ventilation. This practice helps in minimizing the inhalation of harmful fumes and ensures a healthier workspace for the task at hand.
Wearing Protective Gear
Prioritize your safety by donning appropriate protective gear before initiating any work on the vehicle’s exhaust system. Safety equipment such as gloves, goggles, and a mask can shield you from potential hazards and enhance overall safety measures.
Vehicle Preparation
Lifting the Vehicle
Before commencing the replacement process, elevate the vehicle using suitable lifting equipment. This action provides easier access to the underside of the car, facilitating a smoother workflow during the exhaust manifold replacement.
Disconnecting the Battery
As a precautionary measure, disconnecting the battery is crucial to prevent electrical mishaps while working on the exhaust manifold. Safely detaching the battery terminals ensures a secure environment for handling components without any risk of electrical interference.
Exhaust Manifold Removal

Accessing the Exhaust Manifold
To begin the process of removing the exhaust manifold on your 2007 Acura RDX, you first need to access it by following these steps:
Removing Engine Cover
- Locate and remove the engine cover carefully to expose the area where the exhaust manifold is situated.
- Ensure all fasteners holding the engine cover in place are safely removed before lifting it off.
Detaching Heat Shield
- Identify and detach the heat shield that surrounds the exhaust manifold for protection.
- Use appropriate tools to loosen and remove any bolts or clips securing the heat shield in place.
Disconnecting Components
Once you have accessed the exhaust manifold area, proceed with disconnecting essential components as outlined below:
Removing Oxygen Sensors
- Begin by locating and disconnecting the oxygen sensors attached to the exhaust manifold.
- Carefully unplug any electrical connectors and use specialized tools if necessary to remove them without causing damage.
Detaching Exhaust Pipes
- Next, focus on detaching the exhaust pipes connected to the exhaust manifold.
- Loosen any clamps or bolts securing the pipes in place and gently separate them from the manifold.
Removing the Exhaust Manifold
With all components disconnected, you can now move on to removing the exhaust manifold itself using these steps:
Unbolting the Manifold
- Identify and loosen all bolts securing the exhaust manifold to the engine block.
- Work methodically across each bolt, ensuring they are fully detached before proceeding.
Extracting the Manifold
- Once all bolts are removed, carefully extract the exhaust manifold from its position.
- Be cautious not to damage surrounding components as you lift out the old manifold for replacement.
Installing the New Exhaust Manifold

Preparing the New Manifold
Inspecting the New Manifold
Upon receiving the Acura Exhaust Manifold, carefully examine it to ensure it aligns with the specifications required for your 2007 Acura RDX. Look for any signs of damage or discrepancies that may affect its performance.
Applying Gaskets and Seals
To guarantee a secure fit and optimal functionality, apply the Acura RDX Exhaust Manifold Gasket along with the necessary sealing washers. Proper installation of these components is essential to prevent leaks and maintain the integrity of the exhaust system.
Mounting the New Manifold
Positioning the Manifold
Position the new exhaust manifold correctly against the engine block, aligning it with precision to facilitate a seamless installation process. Ensure that all mounting points correspond accurately before proceeding.
Bolting the Manifold in Place
Securely fasten the Aftermarket Exhaust Manifold using appropriate bolts, ensuring they are tightened to the specified torque levels. This step is crucial in maintaining a robust connection between the manifold and the engine block.
Reconnecting Components
Attaching Exhaust Pipes
Reconnect the exhaust pipes to the newly installed manifold, ensuring a snug and secure fit. Verify that all connections are properly aligned before securing them in place to prevent any potential exhaust leaks.
Reinstalling Oxygen Sensors
Carefully reinstall the oxygen sensors onto the new exhaust manifold, making sure they are correctly positioned and securely attached. These sensors play a vital role in monitoring emissions and optimizing engine performance.
Final Steps
Reattaching Heat Shield and Engine Cover
Securing the Heat Shield
- Position the heat shield securely around the new exhaust manifold to safeguard surrounding components from excessive heat exposure.
- Utilize appropriate fasteners to ensure a tight and stable fit of the heat shield, preventing any potential movement during vehicle operation.
Replacing the Engine Cover
- Carefully align the engine cover back into place, covering the internal components for protection and aesthetic purposes.
- Secure all attachment points of the engine cover with precision to maintain a clean and organized appearance under the hood.
Lowering the Vehicle
Safely Lowering the Vehicle
- Gradually lower the vehicle using reliable lifting equipment to prevent sudden drops or impacts that could damage the car or endanger individuals nearby.
- Verify that all support structures are clear before completely lowering the vehicle onto a stable surface for further maintenance or operation.
Reconnecting the Battery
- Reconnect the battery terminals in their respective positions, ensuring a secure and stable connection to restore power to essential electrical systems.
- Double-check that all connections are properly tightened and free of debris to avoid any electrical malfunctions once the battery is reconnected.
Troubleshooting and Tips
Common Issues
Leaks
- Engine leaks can arise from a compromised exhaust manifold gasket, leading to performance issues. Detecting and addressing leaks promptly is crucial to prevent further damage.
Unusual Noises
- Uncommon sounds emanating from the exhaust system could indicate loose components or internal damage. Identifying and rectifying these noises early on can prevent potential malfunctions.
Maintenance Tips
Regular Inspections
- Conduct routine checks on the exhaust manifold to ensure proper functioning. Inspecting for leaks, cracks, or signs of wear can help maintain the integrity of the system and prevent unexpected failures.
Using Quality Parts
- Opting for high-quality replacement parts, such as genuine OEM components or reputable aftermarket products, can enhance the longevity and performance of your exhaust manifold. Investing in quality ensures reliability and optimal functionality.
FAQs
Frequently Asked Questions
How long does the replacement take?
- The duration of the exhaust manifold replacement process typically ranges between 3 to 5 hours, depending on individual proficiency and familiarity with automotive repairs.
- Factors such as workspace organization, tool accessibility, and experience level can influence the overall time required for a successful replacement.
Can I do this myself or should I hire a professional?
- Engaging in the exhaust manifold replacement task is feasible for individuals with intermediate mechanical skills and a comprehensive understanding of automotive components.
- While hiring a professional mechanic guarantees expertise and efficiency, embarking on this project independently can be rewarding and cost-effective with proper preparation and attention to detail.
- To summarize, the replacement process for the Acura Exhaust Manifold involves meticulous steps to ensure optimal performance and longevity of your vehicle.
- Consider potential upgrades like the Acura RDX Exhaust Manifold Water Inlet Pipe for enhanced functionality.
- Regular inspections and timely replacements, such as the Acura RDX Exhaust Manifold Gasket, are vital for maintaining peak performance.
- Purchase genuine OEM Acura parts like the Exhaust Manifold from reliable sources to guarantee quality and compatibility.
- We encourage you to explore our selection of parts and tools at AcuraPartsWarehouse.com and welcome any comments or questions you may have.
Post time: Jun-18-2024


