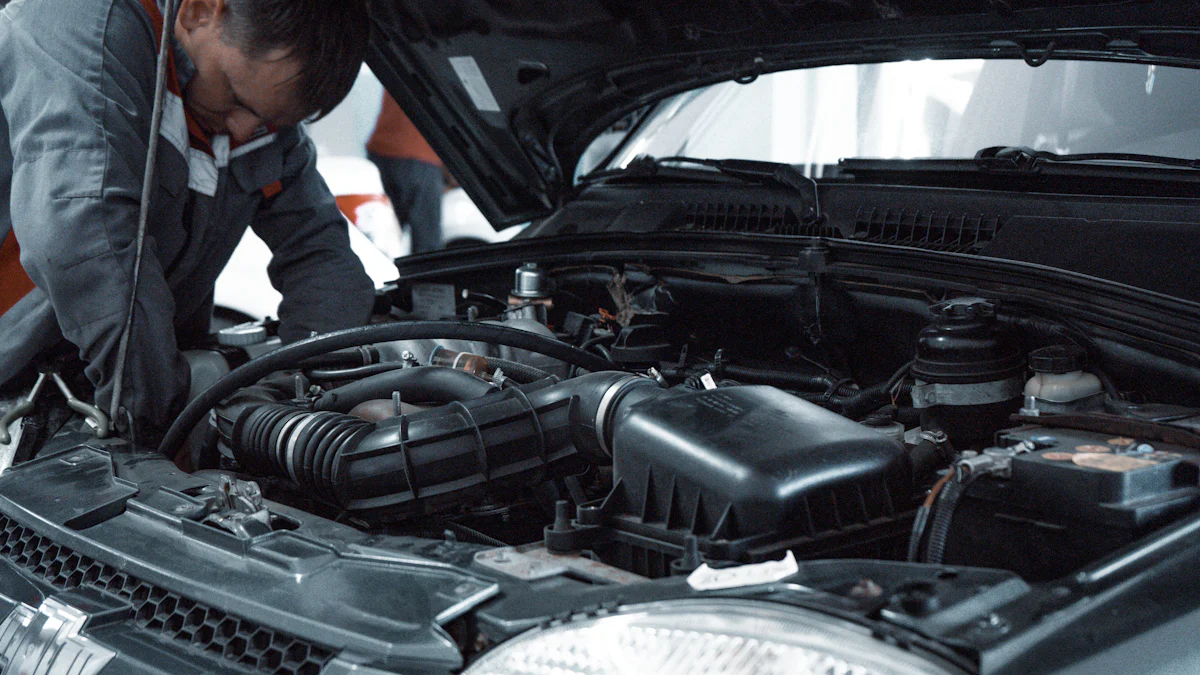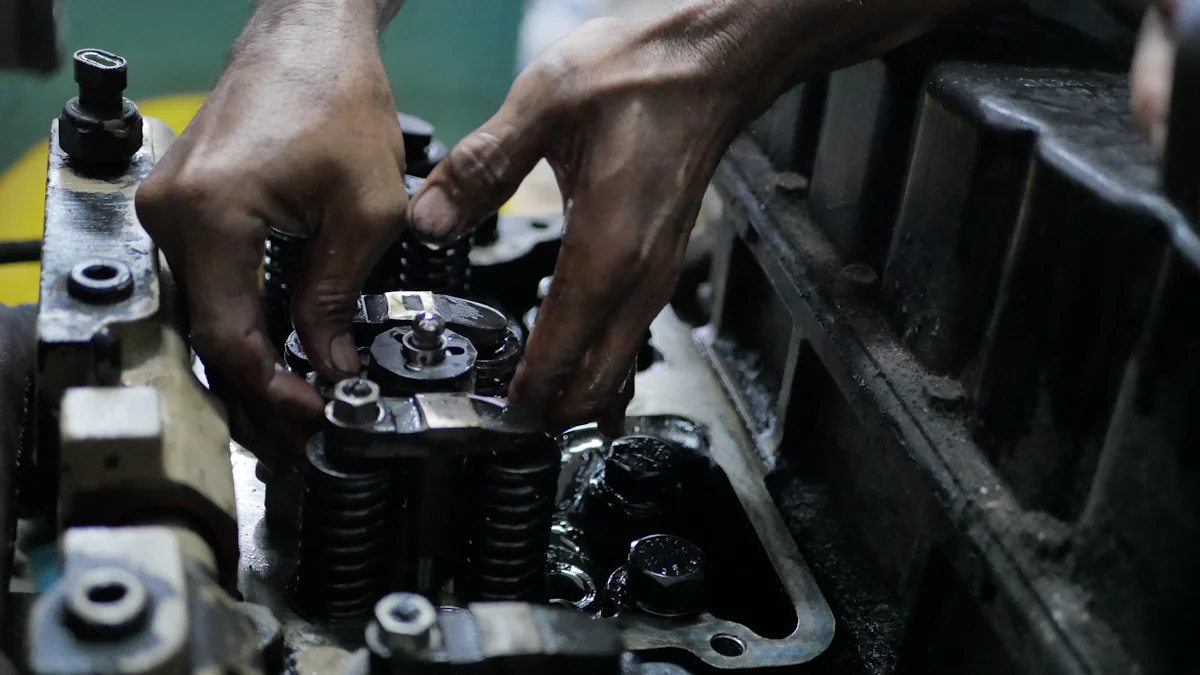
Harmonic balancers are pivotal components in engine performance, ensuring smooth operation by dampening vibrations. The installation process of a 5.7 Hemi harmonic balancer install is a meticulous task that demands precision and expertise. Understanding the significance of this component is crucial for optimal engine function. Prioritizing safety precautions and utilizing the necessary tools are essential steps in this process to guarantee a successful installation. Let’s delve into the world of engine harmonic balancers and uncover the intricacies of a 5.7 Hemi harmonic balancer install.
Preparation for 5.7 Hemi Harmonic Balancer Install

When embarking on the preparation phase for a 5.7 Hemi harmonic balancer install, meticulous attention to detail is paramount to ensure a seamless installation process. Prior to delving into the intricate steps of installing the harmonic balancer, several crucial tasks must be executed with precision and care.
Disconnecting the Battery
To commence this preparatory phase, prioritizing safety measures is imperative to safeguard both the individual performing the installation and the vehicle itself. Ensuring that all electronic components are deactivated before initiating any mechanical work is essential. Following this, meticulously executing each step to disconnect the battery guarantees a secure working environment.
Safety measures
- Begin by turning off the engine and allowing it to cool down sufficiently.
- Utilize appropriate safety gear such as gloves and goggles to protect against potential hazards.
- Carefully remove the negative cable from the battery terminal first to prevent electrical mishaps.
- Securely isolate the disconnected cable away from any metal surfaces within the engine bay.
Steps to disconnect
- Loosen the nut securing the negative cable using an appropriate wrench.
- Gently wiggle the cable connector while pulling it away from the battery terminal.
- Once detached, carefully tuck away the cable in a safe location to prevent accidental contact.
Removing the Accessory Drive Belt
The subsequent task involves removing the accessory drive belt, a critical component that drives various engine accessories such as alternators and water pumps. This step ensures unobstructed access to components essential for harmonious balancer installation.
Tools needed
- Serpentine belt tool or breaker bar
- Socket set with various metric sizes
- Tensioner tool for relieving belt tension
Step-by-step removal
- Identify and locate the belt routing diagram usually found near the radiator or underhood.
- Position your serpentine belt tool on the tensioner pulley bolt and rotate counterclockwise to relieve tension.
- Slide off the belt from one of its pulleys carefully, ensuring not to damage surrounding components.
- Slowly release tension on your serpentine belt tool and remove it from underneath your vehicle’s hood.
Draining the Cooling System
Before proceeding further with your 5.7 Hemi harmonic balancer install, draining your vehicle’s cooling system is imperative to prevent coolant spillage during subsequent steps.
Importance of draining
- Prevents coolant leakage during component removal processes.
- Safeguards against potential burns due to hot coolant exposure.
- Facilitates a clean working environment for enhanced efficiency.
Steps to drain
- Locate and twist open your vehicle’s cooling system drain valve typically situated at its lowermost point.
- Position a suitable container beneath this valve to collect drained coolant effectively.
- Gradually open this valve fully, allowing coolant to flow out freely until completely drained.
Gathering Necessary Tools
When preparing for the installation of the Harmonic Balancer, having the appropriate tools at hand is paramount to ensure a smooth and efficient process. The Harmonic Balancer Installation Tool serves as a crucial component in securely affixing the balancer to the crankshaft, guaranteeing optimal engine performance. Additionally, possessing a reliable Torque Wrench with precise specifications ensures that the balancer bolt is tightened to the manufacturer’s recommended torque levels, preventing any potential issues down the line.
Harmonic Balancer Installation Tool
- Ensure you have the correct Harmonic Balancer Installation Tool adapter for your specific vehicle model to facilitate a seamless installation process.
- Inspect the tool for any signs of damage or wear before usage to prevent any mishaps during installation.
- Utilize the tool according to its instructions, aligning it carefully with the harmonic balancer and crankshaft for a secure fit.
- Apply consistent pressure when using the tool to avoid slippage or misalignment during installation.
Torque Wrench and Specifications
- Select a Torque Wrench that meets the torque specifications provided by your vehicle’s manufacturer for precise tightening of the balancer bolt.
- Calibrate your Torque Wrench before use to ensure accurate torque application during installation.
- Follow the specified torque values meticulously when tightening the balancer bolt to prevent over-tightening or under-tightening, which can lead to potential issues.
- Store your Torque Wrench properly after use in a dry and safe environment to maintain its accuracy and longevity.
By equipping yourself with these essential tools, you are setting yourself up for a successful 5.7 Hemi Harmonic Balancer Install, ensuring that every step of the process is executed with precision and care.
Installation Process for 5.7 Hemi Harmonic Balancer Install

Positioning the Harmonic Balancer
Positioning the Harmonic Balancer correctly is a critical step in ensuring optimal engine performance. Aligning it precisely with the crankshaft guarantees seamless operation and reduces vibrations that could potentially damage engine components.
Aligning with the crankshaft
When aligning the Harmonic Balancer with the crankshaft, attention to detail is paramount. Ensuring that both components are perfectly aligned facilitates smooth rotation and prevents any misalignment issues that could lead to operational inefficiencies or damage.
Ensuring proper fit
Verifying that the Harmonic Balancer fits snugly onto the crankshaft is essential for its functionality. A secure fit guarantees stability during engine operation, minimizing the risk of slippage or dislodgment that could result in catastrophic engine failure.
Using the Installation Tool
Utilizing a reliable Harmonic Balancer Installer Tool streamlines the installation process and ensures a secure attachment of the balancer to the crankshaft. This tool provides precision and control, allowing for a seamless installation experience.
Step-by-step usage
The Balancer Installer Tool Kit offers a comprehensive set of tools designed specifically for harmonic balancer installations. Following a systematic approach using this kit simplifies the installation process, making it accessible even to those with limited experience in automotive maintenance.
Ensuring secure installation
By employing a Universal Harmonic Balancer Installer, users can rest assured that their harmonic balancer is securely installed. This tool eliminates guesswork and potential errors, providing a reliable method for affixing the balancer to the crankshaft with confidence.
Tightening the Harmonic Balancer Bolt
Properly tightening the harmonic balancer bolt is crucial to prevent any loosening or detachment during engine operation. Adhering to manufacturer-recommended torque specifications ensures a secure connection between the balancer and crankshaft.
Proper torque specifications
Referencing specific torque values provided by your vehicle’s manufacturer is imperative when tightening the harmonic balancer bolt. This step guarantees that the bolt is fastened to precise specifications, maintaining structural integrity and preventing potential malfunctions.
Avoiding common mistakes
When tightening the harmonic balancer bolt, it’s essential to exercise caution and avoid common errors that could compromise its effectiveness. Using excessive force or failing to follow torque guidelines may lead to overtightening or undertightening, resulting in operational issues down the line.
Reinstalling the Accessory Drive Belt
Correct positioning
- Align the accessory drive belt with the pulleys according to the belt routing diagram to ensure proper placement.
- Verify that the belt is correctly positioned on each pulley groove without any twists or misalignments.
- Double-check the alignment of the belt to prevent potential slippage during engine operation.
- Ensure that the tensioner pulley maintains appropriate tension on the belt for optimal performance.
Ensuring proper tension
- Utilize a tensioner tool to adjust the tension of the accessory drive belt accurately.
- Apply gradual pressure on the tensioner pulley to achieve the manufacturer-recommended tension level.
- Confirm that there is adequate tension on the belt by assessing its deflection under moderate pressure.
- Test the tightness of the belt by gently pressing down on it, ensuring it deflects slightly but returns to its original position smoothly.
- Avoid over-tightening the belt, as excessive tension can lead to premature wear and strain on engine components.
- Regularly inspect the accessory drive belt after installation to ensure consistent tension and alignment for prolonged engine health and performance.
Incorporating these meticulous steps into your 5.7 Hemi harmonic balancer install process guarantees a seamless reinstallation of the accessory drive belt, essential for maintaining optimal engine functionality and longevity.
Final Checks and Supreme Member Join Date
Upon completing the intricate process of 5.7 Hemi Harmonic Balancer Install, meticulous attention to detail during the final checks is paramount to ensure optimal engine performance and longevity. The following steps encompass a comprehensive inspection and testing regimen that guarantees a seamless transition into the operational phase, culminating in the significance of Supreme Member Join Date for ongoing maintenance.
Inspecting the Installation
Checking for alignment
- Verify the alignment of all components post-installation to guarantee precise positioning.
- Inspect the harmonic balancer’s alignment with the crankshaft for optimal functionality.
- Ensure that all bolts and fasteners are securely tightened to prevent any potential misalignment issues.
Ensuring no leaks or loose parts
- Conduct a thorough visual inspection to identify any signs of leaks or loose components.
- Check for coolant leaks around the cooling system connections to prevent potential overheating.
- Securely fasten all hoses and fittings to eliminate the risk of fluid leakage during engine operation.
Testing the Engine
Starting the engine
- Initiate the engine start-up process with caution, ensuring all safety protocols are in place.
- Listen attentively for any unusual sounds or vibrations that may indicate improper installation.
- Monitor dashboard indicators for warning lights that could signal underlying issues post-installation.
Observing for vibrations or issues
- Observe the engine’s performance under varying RPM levels to detect any irregular vibrations.
- Conduct a visual inspection of engine components while running to identify potential malfunctions.
- Address any observed issues promptly to prevent further damage and ensure optimal engine operation.
Supreme Member Join Date
Benefits of timely replacement
- Emphasize the importance of replacing harmonic balancers at recommended intervals for enhanced engine efficiency.
- Highlight how timely replacements can prevent costly repairs and extend the lifespan of critical engine components.
- Showcase Werkwell‘s commitment to providing high-quality replacement parts for supreme member satisfaction.
Importance of regular maintenance
- Stress the significance of adhering to routine maintenance schedules for sustained engine performance.
- Educate supreme members on proactive maintenance practices that mitigate potential breakdowns and enhance reliability.
- Encourage regular inspections and servicing as part of a comprehensive maintenance strategy.
- Summarize the meticulous steps taken during the installation process.
- Highlight the criticality of precise installation for optimal engine function.
- Encourage adherence to the outlined steps for peak engine performance.
Remember, a well-installed harmonic balancer is key to a smoothly running engine. By following each step diligently, you ensure your engine operates at its best. Stay committed to precision for an engine that performs flawlessly.
Post time: May-31-2024


