The BMW E46 is a favorite among car enthusiasts, known for its impressive performance and sleek design. The exhaust manifold e46 is a crucial component that significantly impacts the vehicle’s performance. This guide provides detailed instructions for installing a new exhaust manifold e46, guaranteeing a smooth and efficient process.
Tools and Materials Needed
Essential Tools
Set of Sockets, Flathead Screwdriver, Hydraulic Floor Jack, and Jack Stands
To begin the installation process smoothly, gather a set of sockets for precise fitting, a flathead screwdriver for easy maneuvering, and a hydraulic floor jack along with jack stands to elevate and secure your vehicle effectively.
Small 1/4in Drive Swivel Ratchet, Rotary Tool, Carbide Milling Bits, Hand Hacksaw or Powered One
For intricate tasks during the installation, equip yourself with a small 1/4in drive swivel ratchet for flexibility, a rotary tool with carbide milling bits for precision cutting if needed, and a hand hacksaw or powered one for efficient metalwork.
Box End Wrenches, Screwdriver
Ensure you have box end wrenches for sturdy grip and torque application along with a reliable screwdriver to handle various fastenings throughout the process.
Required Materials
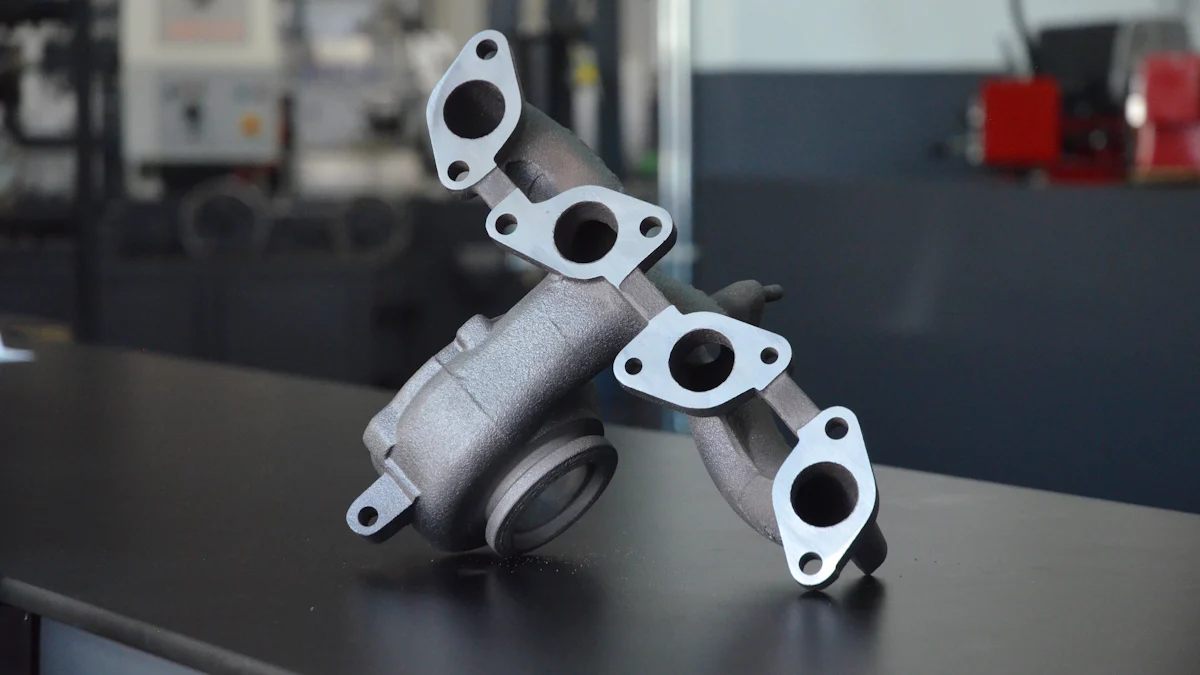
New Exhaust Manifold
Invest in a high-quality exhaust manifold to enhance your BMW E46′s performance. Choose one that suits your vehicle’s specifications to optimize power output effectively.
Gaskets and Seals
Secure new gaskets and seals to prevent leaks and ensure proper sealing between components. These essential materials play a vital role in maintaining the integrity of your exhaust system.
Lubricants and Cleaners
Prepare lubricants to ease the installation process by reducing friction between parts. Additionally, have cleaners on hand to maintain cleanliness during the procedure for optimal working conditions.
Preparation Steps
Safety Precautions
Disconnecting the Battery
When Disconnecting the Battery, prioritize safety by ensuring the vehicle’s electrical systems are inactive. This step prevents any electrical mishaps during the installation process.
Ensuring the Car is Cool
Before proceeding, verify that the vehicle’s engine has cooled down adequately. This precautionary measure safeguards against potential burns and ensures a safe working environment.
Vehicle Setup
Lifting the Car
To begin Lifting the Car, utilize a hydraulic floor jack to elevate it carefully. Position the jack beneath designated lift points for optimal stability and safety throughout the procedure.
Securing the Vehicle
Securing the Vehicle is crucial for a stable working environment. Place jack stands securely under reinforced sections of the car to prevent any unexpected movement while working on the exhaust manifold installation.
Removing the Old Exhaust Manifold

When Accessing the Manifold, start by carefully Removing Engine Covers to gain clear visibility and access to the exhaust manifold. Prioritize safety by Disconnecting Sensors and Wires to prevent any electrical interference during the removal process.
For Unbolting the Manifold, begin by Loosening Bolts in a systematic manner, ensuring each bolt is properly loosened without causing damage. Once all bolts are loosened, proceed with caution to Removing the Manifold from its position, taking care not to disturb surrounding components.
Installing the New Exhaust Manifold

Preparing the New Manifold
Inspecting for Defects
During the preparation phase of installing a new exhaust manifold, meticulous inspection for defects is paramount. This step ensures that the manifold is free from any imperfections that could compromise its performance. By scrutinizing every detail, potential issues can be identified and addressed proactively.
Applying Gaskets and Seals
As part of preparing the new manifold, applying gaskets and seals correctly is crucial for maintaining a secure connection within the exhaust system. Properly aligning and securing these components guarantees optimal sealing, preventing any leaks that could affect overall performance. Ensuring a tight seal with precision is key to the successful installation process.
Mounting the Manifold
Positioning the Manifold
When mounting the new exhaust manifold, precise positioning is essential to align it correctly with other components in the exhaust system. By carefully placing the manifold in its designated location, you guarantee proper flow and function, optimizing performance output effectively.
Tightening Bolts to Specified Torque
To secure the new manifold in place, tightening bolts to specified torque levels is critical for stability and durability. Following manufacturer guidelines for torque specifications ensures that each bolt is fastened securely without risking overtightening or undertightening. This meticulous approach guarantees a reliable connection between components.
Reconnecting Components
Reattaching Sensors and Wires
During reassembly, reconnecting sensors and wires to the new exhaust manifold requires attention to detail. Each sensor and wire plays a vital role in monitoring and regulating engine functions, making their correct attachment crucial for optimal performance. Carefully reattaching these components ensures seamless integration into the exhaust system.
Replacing Engine Covers
Completing the installation involves replacing engine covers to safeguard internal components and maintain a clean aesthetic. Engine covers provide protection against debris and ensure proper airflow within the engine bay. By replacing them securely, you finalize the installation process with a professional touch.
Final Checks and Testing
Inspecting the Installation
To ensure a flawless finish to your BMW E46 Header installation, meticulous inspection is paramount. Thoroughly examine the newly installed Steel exhaust manifold for any signs of leaks or misalignments. This step guarantees that your exhaust system functions optimally, delivering peak performance.
Checking for Leaks
Inspect every connection point of the exhaust system meticulously to detect any potential leaks. By identifying and addressing leaks promptly, you safeguard your vehicle’s performance and prevent any issues that could arise from faulty seals or connections.
Ensuring Proper Fitment
Verify that the Steel exhaust manifold fits seamlessly within your BMW E46′s engine bay. Proper fitment ensures that all components align correctly, promoting efficient airflow and optimal functionality of the exhaust system. A snug fit guarantees maximum performance output from your vehicle.
Test Driving the Vehicle
After completing the installation and inspecting for quality, it’s time to put your BMW E46 to the test with a comprehensive drive. Monitor its performance closely to validate the successful installation of the new Header.
Monitoring Performance
During your test drive, pay close attention to how your vehicle responds to different driving conditions. Monitor acceleration, responsiveness, and overall engine behavior to confirm that the new Steel exhaust manifold enhances your BMW E46′s performance as intended.
Listening for Unusual Noises
While test driving, listen attentively for any unusual noises coming from the engine or exhaust system. Any unfamiliar sounds could indicate underlying issues with the installation or components. Addressing these promptly ensures a smooth driving experience and prolonged engine health.
Recapping the meticulous process of installing a new BMW E46 exhaust manifold ensures optimal performance and efficiency. The benefits of a properly installed aftermarket exhaust manifold are evident in enhanced engine power and reduced vibrations. Should assistance be required, seeking guidance from professionals like Nick at Pelican Parts guarantees expert support. Readers are encouraged to share their experiences and queries, fostering a community dedicated to achieving peak performance with their BMWs.
Post time: Jun-25-2024


