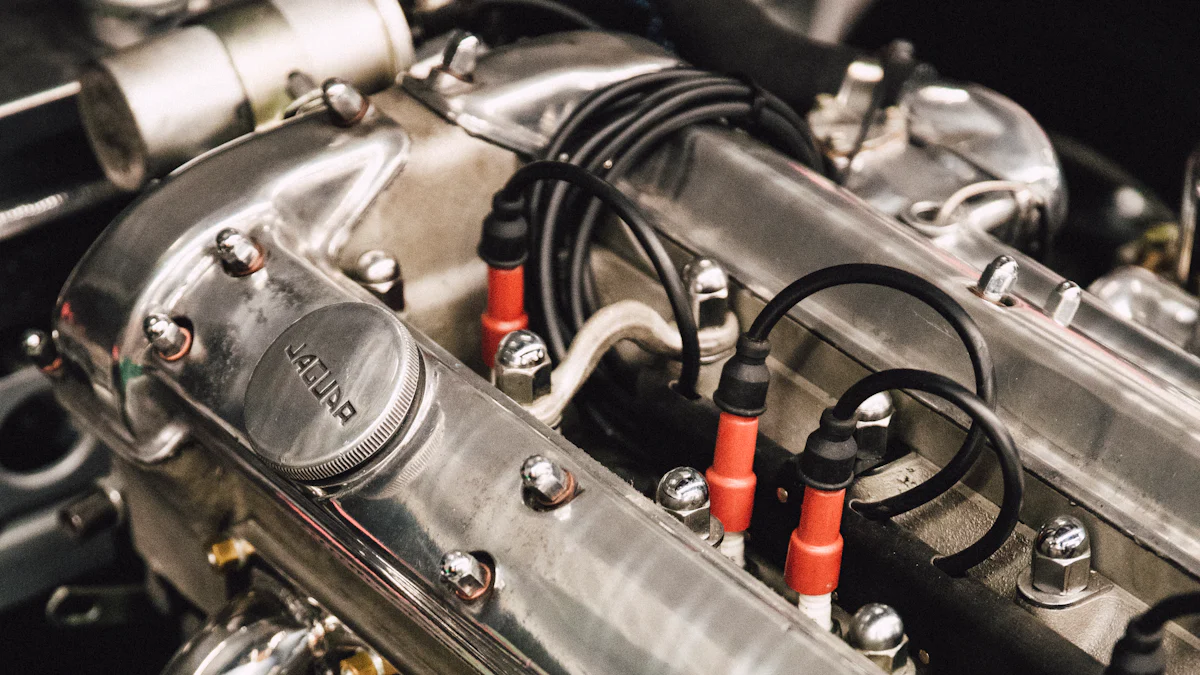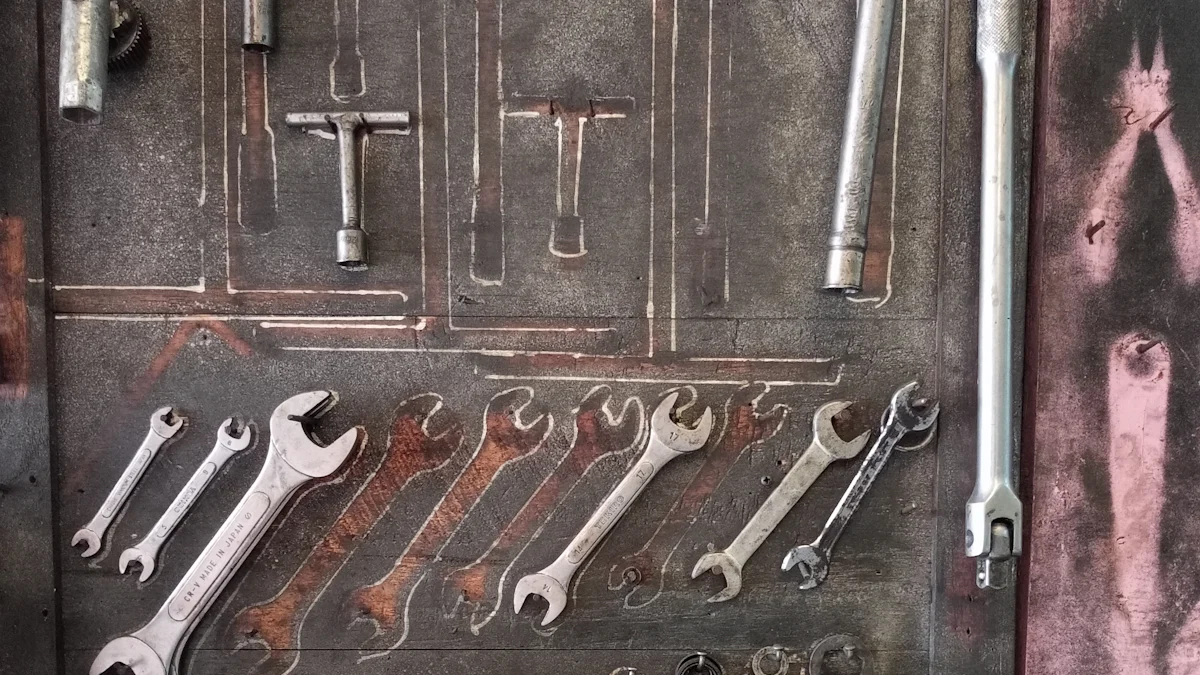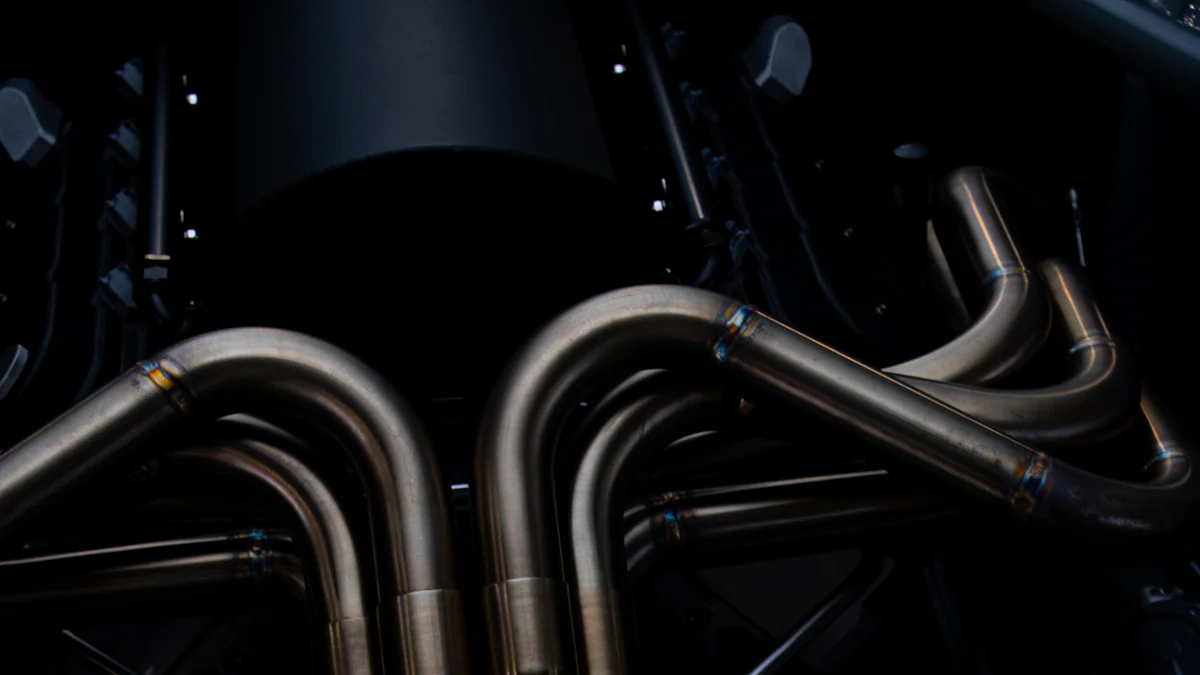
Splitting exhaust manifolds involves separating the Engine Exhaust Manifold into sections for customization. This process offers Chevy 250 enthusiasts the flexibility to enhance sound and performance. The Chevy 250 engine is renowned for its adaptability to modifications, making it a popular choice among automotive enthusiasts seeking to elevate their driving experience. One popular modification is the split exhaust manifold for Chevy 250, which allows for dual exhaust setups, providing a great sound and potential performance enhancement.
Tools and Materials Needed

Essential Tools
Wrenches and Sockets
To begin the process of splitting the Engine Exhaust Manifold, wrenches and sockets are essential tools for loosening and removing bolts securely.
Cutting Tools
Cutting tools play a crucial role in separating the manifold into sections. Precision cutting ensures a clean break for accurate customization.
Welding Equipment
For reassembling the split sections, welding equipment is necessary to join the pieces securely. Proper welding techniques ensure a durable modification.
Required Materials
Exhaust Manifold
The primary component required for this modification is the Exhaust Manifold itself. Ensure it is in good condition before proceeding with the splitting process.
Gaskets and Seals
Gaskets and seals are vital for preventing exhaust leaks post-modification. These materials create a tight seal between the split sections for optimal performance.
Additional Hardware
Various additional hardware such as bolts, nuts, and clamps may be needed during the process. Having these on hand ensures a smooth workflow without interruptions.
Step-by-Step Guide to Splitting the Exhaust Manifold

Preparation
To ensure a safe and efficient process when splitting the Engine Exhaust Manifold, it is crucial to prioritize safety precautions. This includes wearing appropriate protective gear such as gloves and safety goggles to prevent any injuries during the modification. Additionally, make sure the work area is well-ventilated to minimize exposure to fumes.
When setting up your workspace, organize all the necessary tools and materials in a clear and accessible manner. Having everything within reach will streamline the process and prevent any delays. Before beginning, double-check that you have all the required tools and materials to avoid interruptions midway through the modification.
Removing the Exhaust Manifold
Before proceeding with splitting the Engine Exhaust Manifold, it is essential to disconnect all relevant components attached to it. Carefully detach any hoses or wiring connected to the manifold to ensure a smooth removal process. By disconnecting these components beforehand, you can prevent damage and facilitate easier access to the manifold.
Once all components are disconnected, proceed by unbolting the manifold from its mounting points on the engine block. Use appropriate wrenches and sockets to loosen and remove the bolts securely. Take care not to force any bolts as this may cause damage or lead to difficulties during reinstallation.
Splitting the Manifold
To begin splitting the Engine Exhaust Manifold, start by marking precise cut points along its structure. These markings will guide you during the cutting process, ensuring accuracy and symmetry in dividing the manifold into sections. Use a measuring tool for consistency in marking before proceeding with cutting.
Next, carefully cut along the marked lines using suitable cutting tools. Precision is key during this step to achieve clean cuts without damaging surrounding areas of the manifold. Once cut, align and weld the split sections together securely using welding equipment. Proper welding techniques will ensure a strong bond between sections for a durable modification.
Reinstalling the Modified Manifold
Attaching the Manifold
- Securely attach the split sections of the modified Engine Exhaust Manifold back onto the engine block. Ensure a tight fit to prevent any leaks and maintain optimal performance.
- Use appropriate bolts and nuts to fasten the manifold in place. Tighten them evenly to create a uniform seal across all connection points for a reliable installation.
- Check alignment of the split sections before finalizing attachment. Proper alignment ensures that exhaust gases flow smoothly through the manifold, enhancing engine efficiency.
Reconnecting Components
- Reconnect all hoses and wiring that were detached during the removal process. Ensure each component is securely attached to its respective connection point on the manifold.
- Double-check connections for any loose fittings or misplaced components. Proper reconnection is crucial to prevent issues such as exhaust leaks or misalignment post-installation.
- Test each connection by gently tugging on hoses and wires to confirm they are firmly secured. This step helps identify any potential weak points that may require adjustment before testing.
Testing for Leaks
- Conduct a leak test after reinstalling the modified manifold to ensure a proper seal between the split sections. Start the engine and listen for any unusual sounds that may indicate leaks.
- Inspect visually around all connection points for signs of exhaust leakage, such as soot buildup or visible gaps. Address any identified issues promptly to prevent performance issues or safety hazards.
- Perform a smoke test, if available, by introducing smoke into the exhaust system and checking for leaks along the manifold’s seams. This method provides a visual confirmation of any leaks present.
- Monitor exhaust fumes during initial engine startup to detect any irregularities in sound or smell that could signify leaks within the modified manifold system.
Options for Exhaust Manifolds
Langdon’s Cast-Iron Split-Exhaust Headers
Features and Benefits
- Improved exhaust flow: Langdon’s cast-iron split-exhaust headers enhance the engine’s performance by optimizing the flow of exhaust gases.
- Enhanced sound quality: The design of these headers results in a deeper and more resonant exhaust note, providing a satisfying auditory experience for enthusiasts.
Installation Tips
- Secure fitment: Ensure precise alignment during installation to prevent any leaks or inefficiencies in the exhaust system.
- Proper torque: Tighten bolts to the manufacturer’s recommended torque specifications to maintain structural integrity and prevent loosening over time.
Fenton Headers
Features and Benefits
- Increased horsepower: Fenton headers offer improved engine performance by increasing horsepower output, enhancing overall driving experience.
- Durable construction: These headers are built with high-quality materials, ensuring longevity and reliability under various driving conditions.
Installation Tips
- Heat management: Consider using heat-resistant materials or coatings to protect surrounding components from excessive temperatures generated by the headers.
- Professional assistance: For complex installations, seek professional help to ensure proper fitting and functionality of the Fenton headers.
Other Aftermarket Options
Comparison of Different Brands
- Werkwell: Known for its diverse range of automotive products, Werkwell offers aftermarket exhaust manifolds with customizable features for Chevy 250 engines.
- Performance Plus: Specializing in high-performance upgrades, Performance Plus provides exhaust manifold options tailored to specific engine requirements.
Pros and Cons
Pros:
- Variety: Aftermarket options allow for customization based on individual preferences and performance goals.
- Performance Enhancement: Upgraded exhaust manifolds can improve engine efficiency and power output significantly.
Cons:
- Cost: High-performance aftermarket options may come at a premium price compared to stock components.
- Compatibility Concerns: Some aftermarket manifolds may require additional modifications or adjustments for proper installation on specific engine models.
- Splitting the exhaust manifold offers enthusiasts the benefits of enhancing sound quality and optimizing engine performance.
- The process involves precise steps from preparation to reinstallation, ensuring a seamless modification experience.
- For further insights and resources on exhaust modifications, explore Werkwell’s range of automotive products for customization options.
- Take the opportunity to try this modification on your Chevy 250 engine and elevate your driving experience with improved sound and potential performance gains.
Post time: Jun-25-2024


