


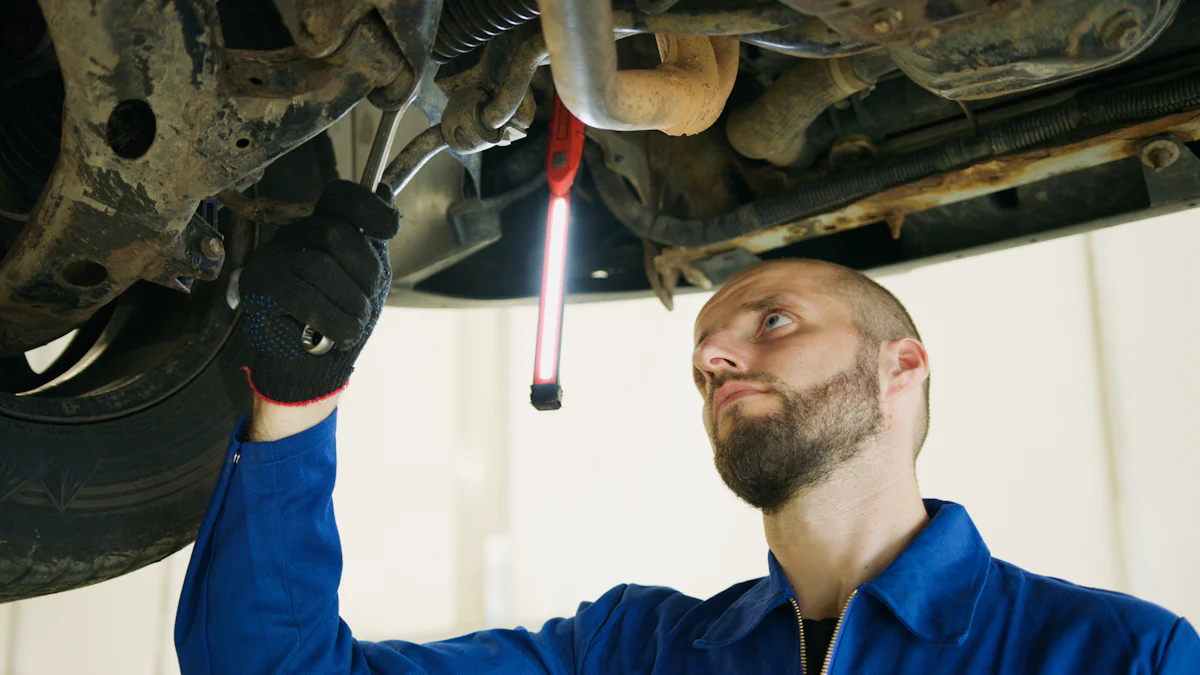
Accurately torquing bolts is crucial when replacing exhaust manifold components. Proper torque prevents exhaust leaks, protects the manifold and cylinder head, and ensures your engine operates efficiently. The exhaust manifold in car engine systems typically requires a torque range of 15-30 ft-lbs, depending on the vehicle. Always check the manufacturer’s specifications for precise values. Incorrect torque can lead to damage or performance issues. Whether you’re working on marine exhaust manifolds or an engine exhaust manifold, following the correct procedure guarantees safety, durability, and optimal performance.
Key Takeaways
- Always refer to your vehicle’s service manual for the exact torque specifications, typically ranging from 15-30 ft-lbs, to prevent leaks and damage.
- Use a calibrated torque wrench to ensure precise torque application, avoiding the common mistake of over-tightening which can lead to serious engine issues.
- Follow the recommended tightening sequence, starting with center bolts and moving outward in a crisscross pattern, to ensure even pressure distribution and prevent warping.
- Inspect and clean all bolts and threaded holes before installation to ensure a secure fit and prevent cross-threading.
- Apply anti-seize compound only if specified by the manufacturer to prevent bolts from seizing, but be cautious not to overuse it as it can affect torque accuracy.
- After installation, double-check each bolt’s torque and inspect for exhaust leaks by starting the engine and looking for visible signs or unusual noises.
Tools and Preparation for Replacing Exhaust Manifold
Before you begin replacing exhaust manifold bolts, gathering the right tools and preparing thoroughly ensures a smooth and successful process. Proper preparation minimizes errors and helps you achieve accurate torque.
Essential Tools
Having the correct tools is critical for this task. Here’s what you need:
- Torque wrench: Use a click-type or digital torque wrench for precise measurements. This tool ensures you apply the exact torque specified by the manufacturer.
- Socket set: Select a socket that matches the size of the exhaust manifold bolts. A proper fit prevents slipping and damage to the bolt heads.
- Ratchet or breaker bar: These tools help you loosen stubborn or rusted bolts with ease.
- Thread cleaner or wire brush: Clean the threads of the bolts and threaded holes to remove dirt, rust, or debris. This step ensures smooth installation.
- Anti-seize compound: Apply this compound if the manufacturer recommends it. It prevents bolts from seizing due to high temperatures.
Preparation Steps
Preparation is key to avoiding common mistakes and ensuring a secure installation. Follow these steps:
- Inspect bolts for wear or damage: Examine each bolt carefully. Replace any bolts that show signs of corrosion, bending, or stripping.
- Clean bolt threads and threaded holes: Use a thread cleaner or wire brush to remove any buildup. Clean threads allow bolts to seat properly and prevent cross-threading.
- Apply anti-seize compound: If specified in the service manual, coat the bolt threads lightly with anti-seize compound. This step makes future removal easier and protects against thermal expansion issues.
- Align the exhaust manifold and gasket: Ensure the manifold and gasket are positioned correctly before installation. Misalignment can lead to leaks or uneven pressure on the bolts.
By following these steps and using the right tools, you set yourself up for success when replacing exhaust manifold bolts. Proper preparation not only saves time but also ensures the durability and performance of your exhaust system.
Step-by-Step Process for Replacing Exhaust Manifold Bolts
Replacing exhaust manifold bolts requires precision and attention to detail. Following a structured process ensures a secure installation and prevents issues like leaks or damage. Below is a step-by-step guide to help you complete the task effectively.
Initial Bolt Installation
Start by hand-tightening all the bolts. This step aligns the exhaust manifold and gasket properly. Use your fingers to thread each bolt into its hole until it feels snug. Avoid using tools at this stage, as over-tightening can misalign the components. Proper alignment ensures that the manifold sits evenly against the cylinder head, reducing the risk of leaks.
Tightening Sequence
Follow the tightening sequence recommended by the manufacturer. This sequence typically begins with the center bolts and moves outward in a crisscross pattern. The purpose of this method is to distribute pressure evenly across the manifold. Uneven tightening can cause warping or gaps, leading to exhaust leaks. Refer to your vehicle’s service manual for the exact sequence, as it may vary depending on the engine design.
“The tightening sequence is crucial for ensuring even pressure distribution and preventing damage to the manifold or cylinder head.”
Applying Torque
- Set your torque wrench to the specified value. Most exhaust manifold bolts require a torque range of 15-30 ft-lbs, but always confirm the exact specification in your service manual.
- Tighten each bolt in the correct sequence. Begin with the center bolts and work outward, applying the specified torque to each one. This step ensures that the manifold is secured evenly.
- If the manufacturer specifies a two-step torque process, follow it carefully. For example, tighten the bolts to a lower value first (e.g., 10 ft-lbs), then increase to the final torque value. This gradual approach helps seat the manifold and gasket properly without over-stressing the bolts.
After completing the torque process, double-check each bolt to confirm it meets the specified torque. This final check ensures that no bolts are under-tightened or over-tightened, which could compromise the installation.
By following these steps, you can successfully complete the process of replacing exhaust manifold bolts. Proper technique not only ensures a secure fit but also extends the lifespan of your exhaust system.
Final Check
Recheck all bolts to ensure they are torqued to the correct specification.
After completing the torque process, you must recheck each bolt. Use your torque wrench to confirm that every bolt matches the manufacturer’s specified torque value. This step ensures that no bolts are under-tightened or over-tightened. Even a single improperly torqued bolt can compromise the exhaust manifold’s seal, leading to potential leaks or damage. Work systematically, checking each bolt in the same tightening sequence you followed earlier. This method guarantees even pressure distribution across the manifold.
Start the engine and inspect for exhaust leaks.
Once you’ve verified the torque on all bolts, start the engine to test your work. Allow the engine to idle for a few minutes while you carefully inspect the exhaust manifold area. Look for visible signs of exhaust leaks, such as escaping fumes or unusual noises like hissing or ticking. Pay close attention to the connection points between the manifold, gasket, and cylinder head. If you detect any leaks, turn off the engine immediately and recheck the bolts for proper alignment and torque. Addressing leaks promptly prevents further issues and ensures the success of your work.
Completing this final check is essential for a secure and reliable installation. By taking the time to verify your work, you ensure the durability and performance of your exhaust system. Whether you’re replacing exhaust manifold bolts for the first time or as part of routine maintenance, these steps help you achieve a professional-quality result.
Common Mistakes to Avoid When Replacing Exhaust Manifold Bolts
When replacing exhaust manifold bolts, avoiding common mistakes ensures a successful and durable installation. Mistakes can lead to costly repairs or damage to your engine. Understanding these pitfalls helps you achieve the best results.
Over-Tightening Bolts
Over-tightening exhaust manifold bolts is a frequent error. Applying excessive torque can strip the threads in the cylinder head or damage the bolts themselves. It can also warp the exhaust manifold, causing improper sealing and potential leaks. Always use a calibrated torque wrench to apply the manufacturer-specified torque. This tool ensures you avoid over-tightening while achieving a secure fit. Precision is key to preventing damage and ensuring the manifold functions as intended.
Skipping the Tightening Sequence
Skipping the tightening sequence disrupts the even distribution of pressure across the manifold. Uneven pressure can lead to gaps between the manifold and the cylinder head, resulting in exhaust leaks. It may also cause the manifold to warp over time. Follow the tightening sequence outlined in your vehicle’s service manual. Typically, this sequence starts with the center bolts and moves outward in a crisscross pattern. Adhering to this method ensures the manifold seats evenly and securely.
“The tightening sequence is not just a recommendation; it is essential for maintaining the integrity of the exhaust system.”
Using Incorrect Tools
Using the wrong tools often leads to improper torque application. An uncalibrated torque wrench may provide inaccurate readings, causing under-tightening or over-tightening. Similarly, using an incorrect socket size can damage the bolt heads, making them difficult to remove or tighten. Invest in high-quality tools, including a properly calibrated torque wrench and a socket set that matches the bolt size. These tools ensure precision and protect the components of your exhaust system.
By avoiding these mistakes, you can complete the process of replacing exhaust manifold bolts with confidence. Proper technique and attention to detail prevent issues like leaks, damage, or premature wear. Take the time to follow the correct procedures and use the right tools for a professional-quality result.
Ignoring Manufacturer Specifications
Using generic torque values without consulting the service manual can lead to improper installation.
Relying on generic torque values instead of the manufacturer’s specifications often results in improper installation. Each vehicle and engine design has unique requirements, and the manufacturer provides precise torque values to ensure optimal performance. Ignoring these values can cause serious issues.
When you use incorrect torque, you risk under-tightening or over-tightening the bolts. Under-tightened bolts may loosen over time, leading to exhaust leaks and reduced engine efficiency. Over-tightened bolts can strip threads, warp the manifold, or even crack the cylinder head. These problems not only compromise the exhaust system but also lead to costly repairs.
To avoid these issues, always consult the service manual for your specific vehicle. The manual contains the exact torque values and tightening sequence needed for a secure installation. Following these guidelines ensures that the exhaust manifold bolts are properly seated and evenly tightened.
“The service manual is your most reliable source for accurate torque specifications and procedures.”
Using the correct torque values also accounts for factors like thermal expansion. Exhaust manifolds experience extreme temperature changes, which cause the metal to expand and contract. The manufacturer’s specifications consider these conditions, ensuring the bolts maintain a secure fit without causing damage.
Take the time to locate and follow the torque specifications in your service manual. This step guarantees a professional-quality installation and extends the lifespan of your exhaust system. Skipping this crucial detail can lead to unnecessary headaches and expenses. Always prioritize accuracy and precision when working on your vehicle.
Properly torquing exhaust manifold bolts plays a vital role in preventing leaks and ensuring your engine operates safely and efficiently. You must use the right tools, follow the correct tightening sequence, and stick to the manufacturer’s torque specifications. These steps protect your engine components and improve the overall performance of your vehicle.
Take the time to prepare thoroughly and execute each step with precision. This approach guarantees a secure and long-lasting installation. By following these guidelines, you ensure the durability of your exhaust system and avoid costly repairs in the future.
FAQ
What is the correct torque specification for exhaust manifold bolts?
The torque specification for exhaust manifold bolts typically ranges from 15 to 30 ft-lbs. However, you should always refer to your vehicle’s service manual for the exact value. Manufacturers design these specifications to account for factors like thermal expansion and material properties.
Tip: Never rely on generic torque values. Using the wrong specification can lead to leaks, damage, or improper installation.
Why is it important to follow the tightening sequence?
The tightening sequence ensures even pressure distribution across the exhaust manifold. Uneven tightening can cause warping, leaks, or damage to the gasket and cylinder head. Most manufacturers recommend starting with the center bolts and working outward in a crisscross pattern.
Remember: Skipping this step can compromise the integrity of your exhaust system.
Can I reuse old exhaust manifold bolts?
Reusing old bolts is not recommended if they show signs of wear, corrosion, or damage. Bolts that have been stretched or weakened may not hold the proper torque. Always inspect the bolts carefully and replace them if necessary.
Pro Tip: When in doubt, replace the bolts. It’s a small investment that prevents bigger problems later.
Should I use anti-seize compound on exhaust manifold bolts?
You should only use anti-seize compound if the manufacturer specifically recommends it. Anti-seize helps prevent bolts from seizing due to high temperatures, but overuse can affect torque accuracy. Always check your service manual for guidance.
Caution: Applying too much anti-seize can lead to over-tightening, which may damage the threads or manifold.
What happens if I over-tighten exhaust manifold bolts?
Over-tightening can strip the threads in the cylinder head, warp the manifold, or even crack the bolts. These issues can lead to exhaust leaks, costly repairs, or engine damage. Always use a calibrated torque wrench to apply the correct torque.
Key Point: Precision matters. Avoid guessing when tightening bolts.
How do I know if my torque wrench is accurate?
To ensure accuracy, calibrate your torque wrench regularly. Most manufacturers recommend calibration every 12 months or after 5,000 uses. You can take it to a professional calibration service or use a torque wrench tester.
Quick Tip: Store your torque wrench properly and avoid dropping it to maintain its accuracy.
Can I tighten exhaust manifold bolts without a torque wrench?
Using a torque wrench is essential for achieving the correct torque. Hand-tightening or using a standard ratchet cannot provide the precision needed. Incorrect torque can lead to leaks, damage, or uneven pressure.
Advice: Invest in a quality torque wrench. It’s a valuable tool for any automotive repair.
How do I check for exhaust leaks after installation?
Start the engine and let it idle. Inspect the area around the exhaust manifold for visible fumes, hissing sounds, or ticking noises. You can also use a soapy water solution to detect leaks. Apply it to the connection points and look for bubbles.
Pro Tip: Address any leaks immediately to prevent further damage.
What tools are essential for replacing exhaust manifold bolts?
You’ll need a torque wrench, socket set, ratchet or breaker bar, thread cleaner, and possibly anti-seize compound. These tools ensure proper installation and help you achieve the correct torque.
Reminder: Using the right tools prevents mistakes and protects your engine components.
Why is it important to consult the service manual?
The service manual provides the exact torque specifications, tightening sequence, and other critical details for your specific vehicle. Following these guidelines ensures a secure and reliable installation.
Final Thought: The service manual is your best resource for accurate and safe repairs. Always keep it handy.
Post time: Dec-30-2024