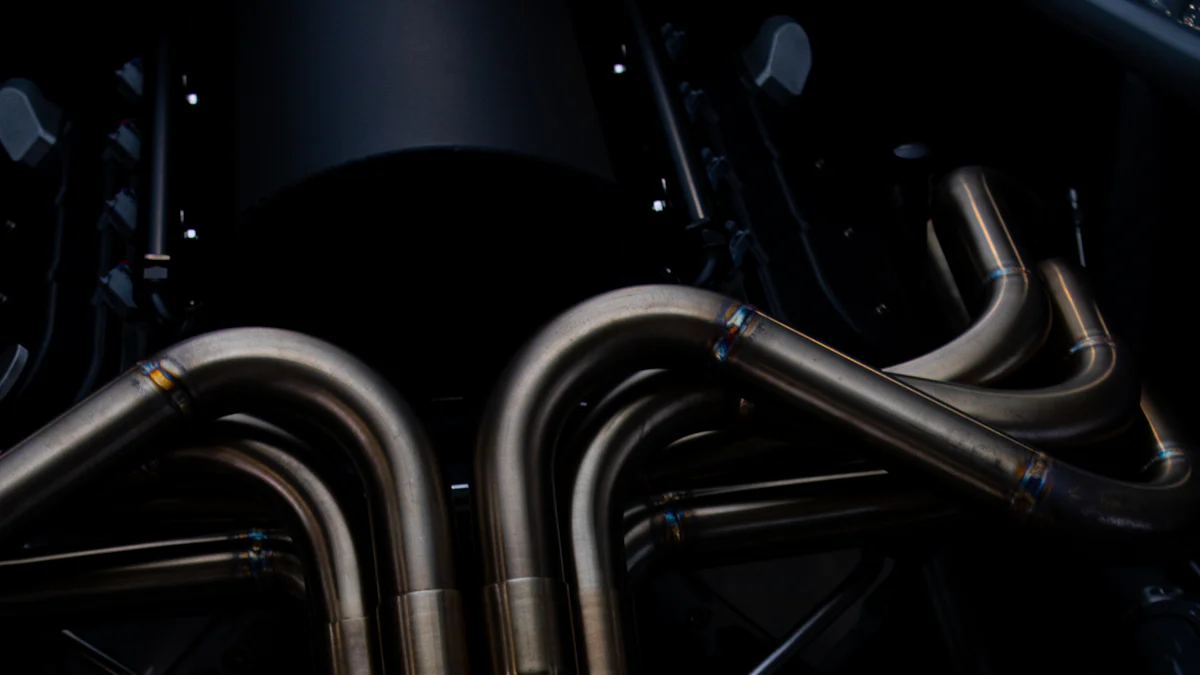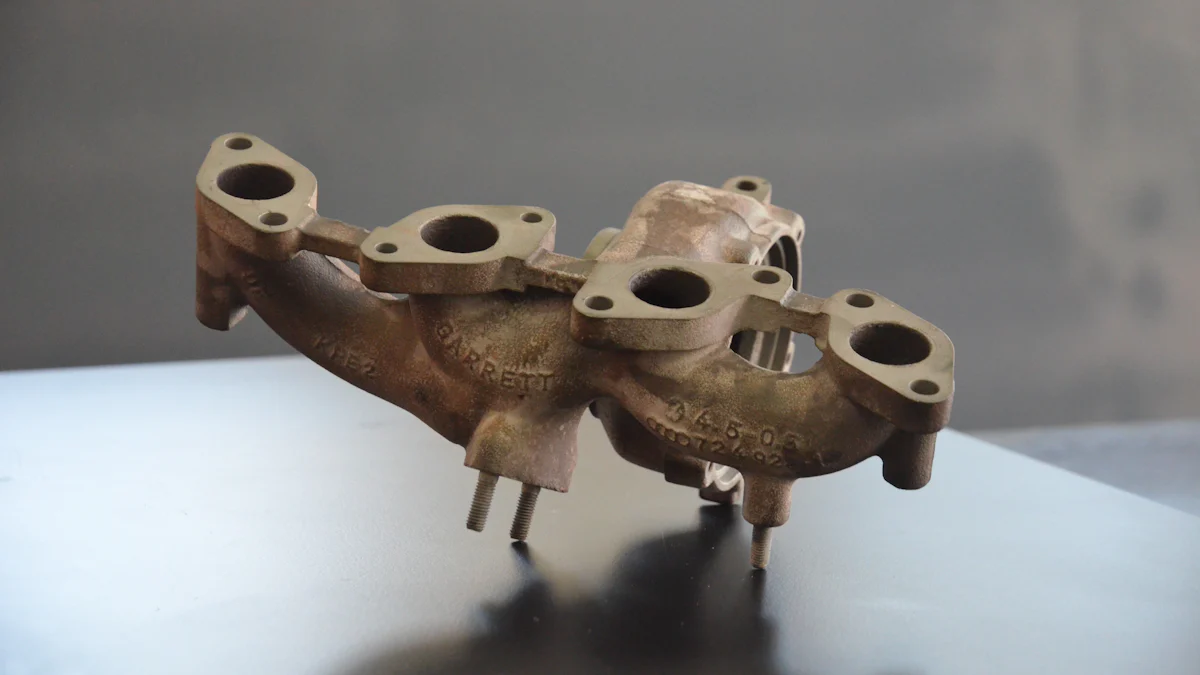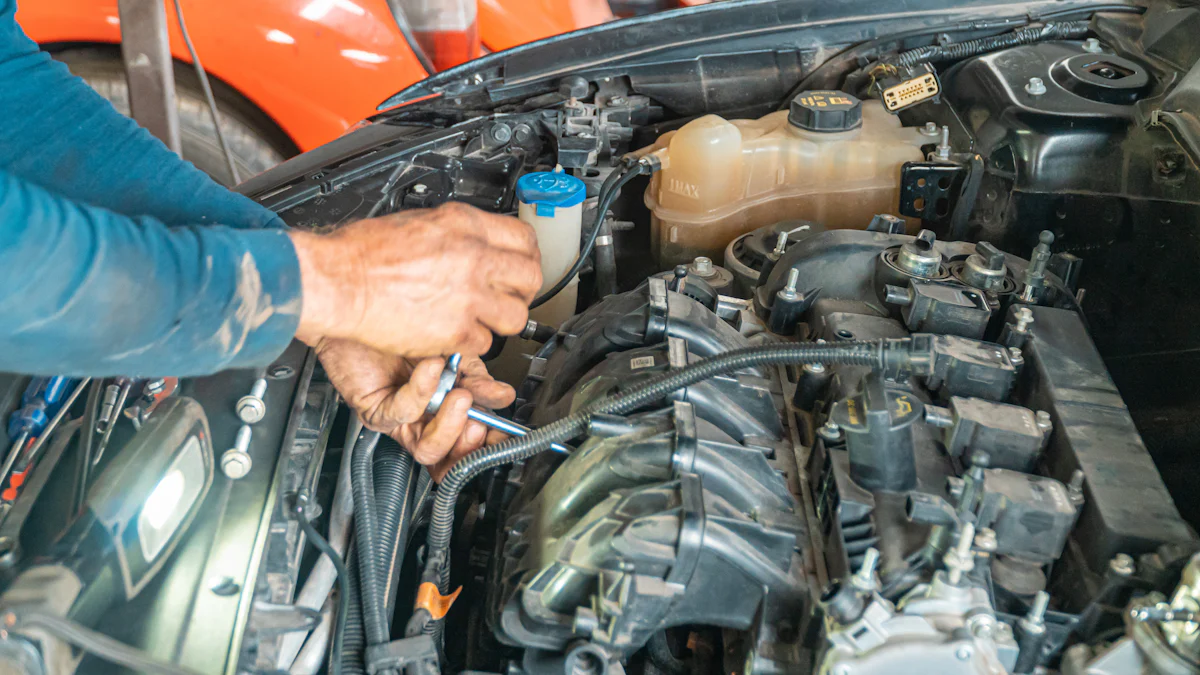
The exhaust manifold in a car engine is essential for maintaining optimal engine performance. This component, part of the inlet and exhaust manifold system, channels exhaust gases away from the engine, helping to reduce harmful emissions. Over time, the exhaust manifold in a car engine can experience wear and tear, leading to issues such as noisy operation, unusual odors, or decreased fuel efficiency. A damaged inlet and exhaust manifold might even activate the check engine light. Ignoring these warning signs can result in poor acceleration or higher fuel consumption. Promptly replacing the manifold, whether it’s a standard part or a specialized component like an LS6 harmonic balancer, ensures the engine continues to run efficiently and can save both time and money in the long run.
Identifying the Right Exhaust Manifold

Understanding Specifications and Compatibility
Choosing the correct exhaust manifold for a vehicle starts with understanding its unique requirements. Several factors influence compatibility:
- Desired Power Output and Power Curve: Determine whether the vehicle needs more low-end torque or high-end horsepower. This decision impacts the type of manifold required.
- Engine Bay Space: Measure the available space in the engine bay to ensure the manifold fits without causing interference.
- Engine Layout and Configuration: Research the engine’s specific layout to find a manifold that optimizes performance.
- Budget: Set a budget that balances quality and affordability.
- Other Modifications: Check for compatibility with existing upgrades, such as turbochargers or intake systems.
- Turbo Exhaust Manifold: If the vehicle uses a turbocharger, consider the turbo size, flange type, and wastegate configuration.
By addressing these factors, vehicle owners can ensure the manifold fits perfectly and enhances performance.
Choosing Between OEM and Aftermarket Options
When replacing an exhaust manifold, deciding between OEM (Original Equipment Manufacturer) and aftermarket options is crucial. Each has its advantages:
- OEM Manifolds: These parts are designed to match the vehicle’s original specifications. They offer precise compatibility and durability, making them a reliable choice.
- Aftermarket Manifolds: These are often more affordable and can provide performance improvements. Many aftermarket parts are manufactured in the same factories as OEM components, ensuring comparable quality.
For example, boat owners have reported noticeable performance gains after upgrading to aftermarket manifolds. However, the choice depends on the vehicle’s needs and the owner’s budget.
Trusted Retailers for Quality Parts
Finding a trustworthy retailer ensures the exhaust manifold purchased is high-quality. Some of the most reliable options include:
- US AutoParts Car: Known for its excellent customer service and premium product offerings.
- Rock Auto Parts: Offers competitive pricing and has a reputation for cost-effective solutions.
- Amazon.com: Features a wide selection of parts, detailed reviews, and user-friendly navigation.
These retailers provide a range of options, making it easier to find the right manifold for any vehicle.
Tools and Preparation
Essential Tools for the Job
Replacing an exhaust manifold requires the right tools to make the process smooth and efficient. Here’s a list of essential items:
- Socket Set and Wrenches: These are necessary for loosening and tightening bolts. A variety of sizes ensures compatibility with different vehicles.
- Torque Wrench: This tool helps tighten bolts to the manufacturer’s specifications, preventing over-tightening or under-tightening.
- Penetrating Oil: Rusted or stuck bolts can be a challenge. Penetrating oil makes removal easier.
- Pry Bar: This comes in handy for removing the old manifold if it’s stuck in place.
- Gasket Scraper: A clean surface is crucial for a proper seal. Use this tool to remove old gasket material.
- Safety Gear: Gloves, goggles, and protective clothing are essential for personal safety.
Having these tools ready ensures the job can be completed without unnecessary delays.
Safety Precautions to Follow
Safety should always come first when working on a vehicle. Follow these precautions to avoid accidents:
- Wear gloves, goggles, and protective clothing to shield against burns, debris, and chemicals.
- Disconnect the vehicle’s battery to prevent electrical mishaps.
- Make sure the engine has cooled down completely before starting. Hot components can cause serious burns.
- Park the vehicle on a flat, stable surface and engage the parking brake for added stability.
Taking these steps minimizes risks and creates a safer working environment.
Pre-Replacement Checks and Inspections
Before removing the old exhaust manifold, inspect the surrounding components. Look for signs of damage, such as cracks, rust, or leaks. Check the condition of the gaskets and bolts. If they appear worn or corroded, replace them along with the manifold.
It’s also a good idea to clean the area around the manifold. Dirt and debris can interfere with the installation of the new part. Finally, confirm that the replacement manifold matches the vehicle’s specifications. This ensures a proper fit and optimal performance.
By preparing thoroughly, the replacement process becomes more straightforward and less stressful.
Step-by-Step Replacement Process

Removing the Old Exhaust Manifold
Taking out the old exhaust manifold requires patience and the right approach. Follow these steps to ensure a smooth removal:
- Raise the Vehicle: Park the car on flat ground and secure it with wheel chocks. Use a jack to lift the vehicle and place it on jack stands for stability.
- Disconnect the Exhaust Pipe: Locate the bolts connecting the exhaust pipe to the manifold. Loosen and remove them, then carefully pull the pipe away.
- Remove the Manifold Bolts: Spray penetrating oil on the manifold bolts to loosen any rust or debris. Use a wrench to remove the bolts connecting the manifold to the engine block.
- Take Out the Gasket: Once the manifold is free, remove the old gasket. Clean the surface thoroughly to prepare for the new gasket.
Tip: Label the bolts as you remove them. This makes reassembly much easier later.
Installing the New Exhaust Manifold
Proper alignment and sealing are critical when installing the new exhaust manifold. Here’s how to do it:
- Position the New Manifold: Align the new manifold with the engine block. Ensure all mounting points match perfectly.
- Install the Gasket: Place the new gasket between the manifold and the engine block. This creates a tight seal and prevents leaks.
- Secure the Bolts: Hand-tighten the bolts first to hold the manifold in place. Then, use a torque wrench to tighten them to the manufacturer’s specifications. Avoid over-tightening, as this can damage the gasket.
- Reconnect the Exhaust Pipe: Reattach the exhaust pipe to the manifold and secure it with bolts.
Note: Double-check the alignment before tightening everything. Misalignment can lead to leaks or poor performance.
Post-Installation Checks and Testing
After installation, it’s important to verify that everything is functioning correctly:
- Inspect the Fit: Check that the manifold sits snugly against the engine block without gaps.
- Check Connections: Ensure all bolts and fittings are secure. Loose connections can cause leaks.
- Look for Leaks: Start the engine and visually inspect the connection points for any signs of exhaust leaks.
- Test Performance: Listen for unusual noises like tapping or rattling. If the check engine light comes on, recheck the installation.
Tip: A pressure test can help confirm the integrity of the seals and gaskets.
Replacing an exhaust manifold may seem daunting, but following these steps makes the process manageable. With proper installation, the engine will run more efficiently, and harmful emissions will decrease.
Maintenance and Troubleshooting
Regular Inspections and Cleaning
Keeping the exhaust manifold in good condition starts with regular inspections. Look for cracks, rust, or leaks during routine maintenance. These issues can lead to poor engine performance or increased emissions if left unchecked. Cleaning the manifold is equally important.
Fully submerge the manifold and riser (separately) in full-strength muriatic acid for 90 minutes, then rinse thoroughly. Be very careful with this chemical, as it is dangerous. Always read the label on the container.
For rust prevention, try this method:
- Remove the manifold and clean it using media blasting.
- Apply a heavy coating of 90-weight oil, ensuring complete saturation.
- Let it soak for a day, then wipe off the excess oil.
- Optionally, use a torch to cook off the oil for added protection.
These steps help maintain the manifold’s integrity and prevent wear over time.
Addressing Common Installation Issues
Sometimes, even after replacing the exhaust manifold, problems can arise. Common issues include:
- Cracks or warping that cause exhaust leaks.
- Noise from escaping gases, especially at startup.
- A check engine light triggered by faulty oxygen sensor readings.
To avoid these problems, ensure all bolts are tightened to the manufacturer’s specifications. Misalignment during installation can also lead to leaks, so double-check the fit before finishing the job. If issues persist, consult a professional mechanic to prevent further damage.
Tips for Extending the Lifespan of Your Exhaust Manifold
A well-maintained exhaust manifold can last for years. Follow these tips to maximize its lifespan:
- Inspect the manifold regularly for signs of damage or wear.
- Clean it thoroughly to remove debris and prevent rust buildup.
- Address any leaks or cracks immediately to avoid further complications.
- Avoid neglecting maintenance, as this can lead to increased emissions, higher fuel consumption, and even health risks from exhaust fumes.
By taking these steps, drivers can ensure their exhaust manifold performs efficiently and safely for the long haul.
Replacing an exhaust manifold becomes manageable with the right tools and preparation. Proper installation boosts engine performance and fuel efficiency. For instance, some drivers reported mileage improvements, like jumping from 25 to 33 mpg, after upgrading. Regular maintenance and investing in quality parts ensure long-lasting performance and reduced emissions.
FAQ
What are the signs of a failing exhaust manifold?
Look for these symptoms:
- Loud engine noise
- Decreased fuel efficiency
- Burning smell
- Visible cracks or rust
Tip: Address these issues quickly to avoid further engine damage.
Can I replace an exhaust manifold without professional help?
Yes, with the right tools and preparation, most people can handle it. However, beginners should follow a detailed guide or consult a mechanic for advice.
How long does it take to replace an exhaust manifold?
It usually takes 2-4 hours, depending on the vehicle and experience level. Complex setups or rusted bolts may require more time.
Note: Allocate extra time for cleaning and inspections during the process.
Post time: Jan-20-2025


