


Replacing the Ford 6.2 exhaust manifold replacement is a critical task to ensure optimal engine performance. The process poses significant challenges, especially when dealing with rusted components and potential stud breakage. Understanding the importance of this replacement is key to maintaining the efficiency of your vehicle. In this guide, we will provide a comprehensive overview of the steps involved in the Ford 6.2 exhaust manifold replacement, equipping you with the knowledge needed to tackle this intricate process effectively.
Tools and Preparation
When embarking on the journey of Ford 6.2 exhaust manifold replacement, having the right tools and ensuring proper preparation are crucial steps to guarantee a successful outcome. The process demands precision and attention to detail, making it essential to equip oneself adequately before diving into the task.
Required Tools
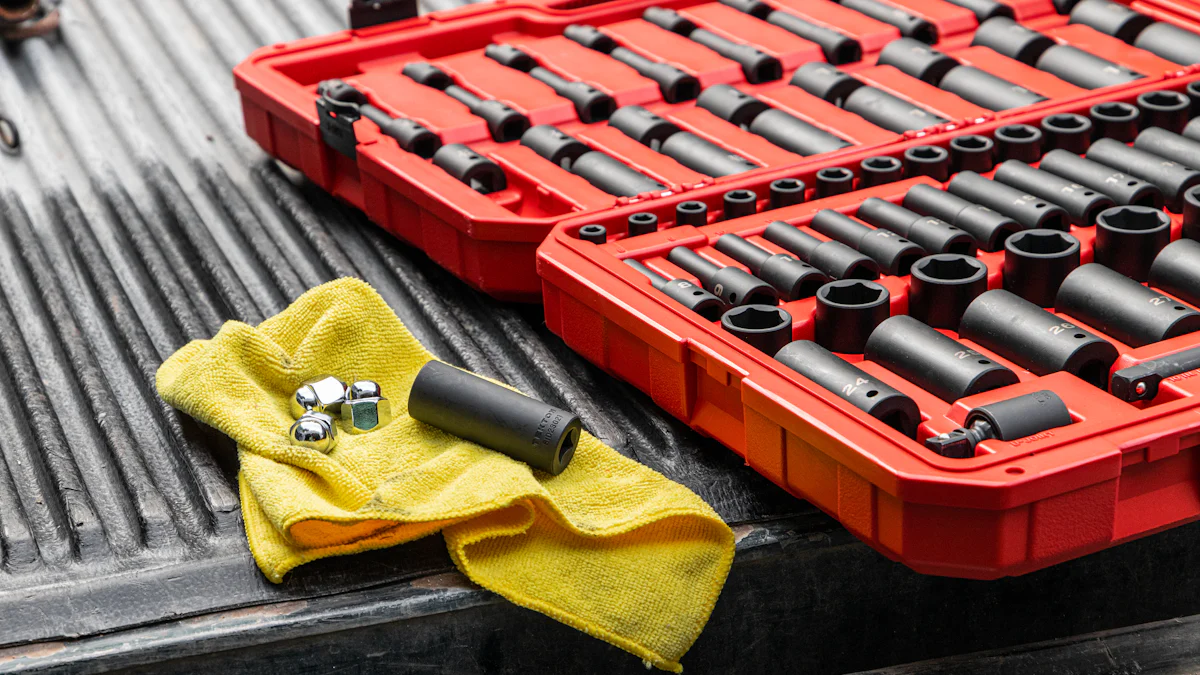
To commence this intricate procedure, one must gather a set of tools that will facilitate the removal and installation of the exhaust manifold. These tools can be categorized into two main groups: Basic Tools and Specialized Tools.
Basic Tools
- Socket Wrench Set: Essential for loosening and tightening bolts with precision.
- Screwdriver Set: Useful for various components that may require adjustment.
- Pliers: Ideal for gripping and maneuvering small parts during the process.
- Wire Brush: Helps in cleaning rust or debris from surfaces for better access.
- Shop Rags: Useful for wiping off excess oil or dirt from components.
Specialized Tools
- Exhaust Manifold Extract Bolt Tool (Broken Exhaust Manifold Bolts Removal Tool): Specifically designed to remove broken bolts without causing damage, ensuring a smooth extraction process.
- Manifold Template by Lisle Corporation: A valuable tool that aids in extracting broken bolts efficiently, minimizing potential harm to surrounding areas.
- Penetrating Oil: Assists in loosening stubborn bolts by penetrating rusted or corroded parts effectively.
- Torque Wrench: Ensures precise tightening of bolts to manufacturer specifications, preventing any issues post-installation.
Safety Precautions
Prioritizing safety is paramount when engaging in any automotive repair task, including Ford 6.2 exhaust manifold replacement. Implementing adequate safety measures can prevent accidents and ensure a smooth operation throughout the process.
Personal Protective Equipment
- Safety Glasses: Protects eyes from debris or harmful substances that may dislodge during work.
- Gloves: Shields hands from sharp edges or hot components, enhancing grip and protection.
- Ear Protection: Guards against loud noises generated during vehicle maintenance activities.
Vehicle Safety Measures
- Wheel Chocks: Prevents unintended vehicle movement while elevated during repairs.
- Jack Stands: Supports the vehicle securely when lifted, reducing risks of collapse or instability.
- Fire Extinguisher: A precautionary measure in case of unexpected fires due to fuel leaks or electrical malfunctions.
Preparing the Vehicle
Before initiating the Ford 6.2 exhaust manifold replacement, it is imperative to prepare the vehicle adequately to streamline the process and ensure efficiency throughout each step.
Lifting the Vehicle
- Position the vehicle on a flat surface to ensure stability during elevation.
- Engage the parking brake and place wheel chocks behind both rear tires for added security.
- Lift the front end of the vehicle using a hydraulic jack positioned under designated lift points recommended by Ford.
Accessing the Exhaust Manifold
- Locate the exhaust manifold underneath the vehicle near the engine block for easy identification.
Removing the Old Manifold
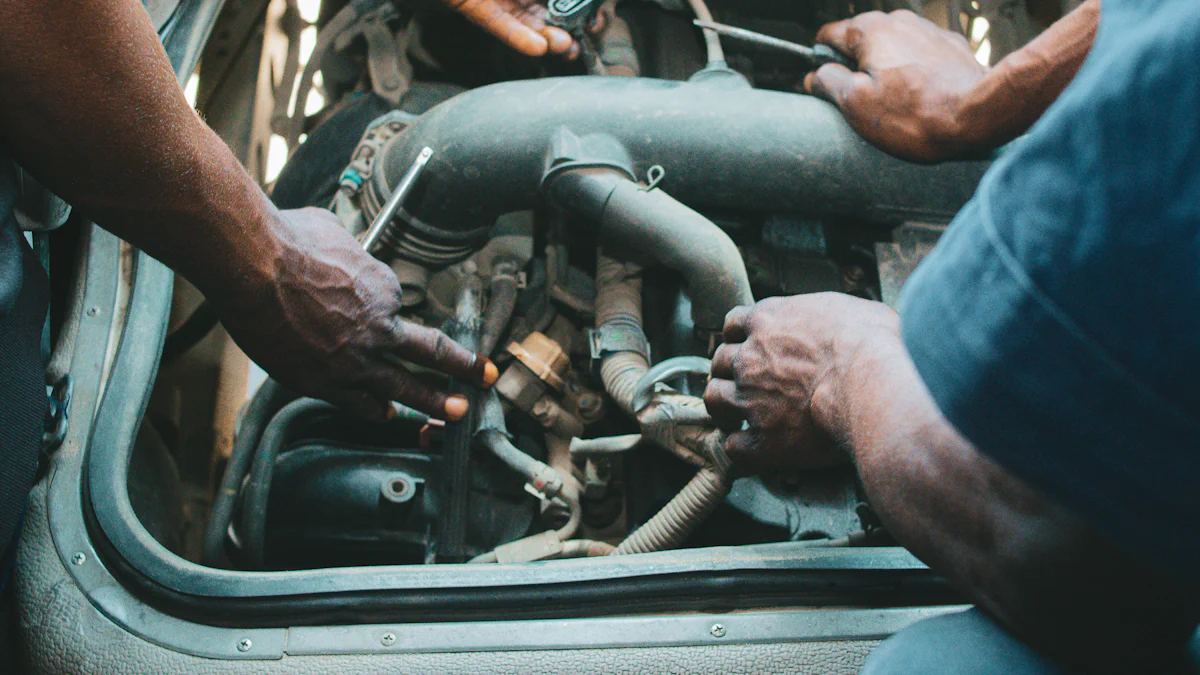
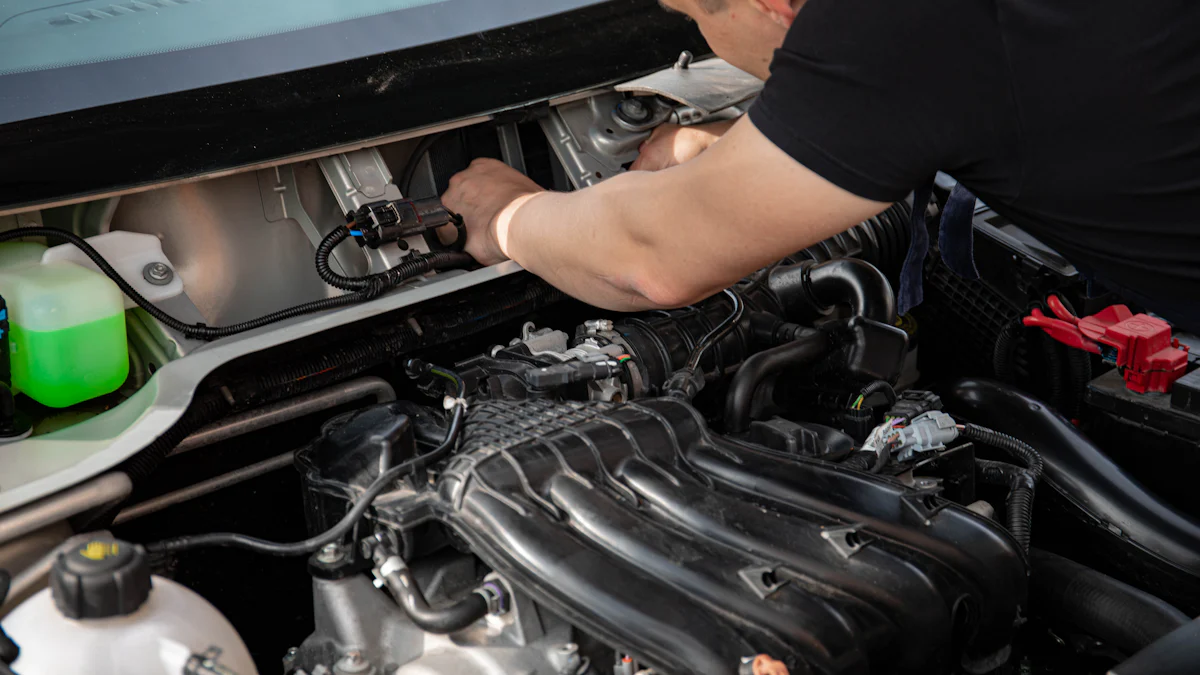
When preparing to remove the Ford 6.2 exhaust manifold from your vehicle, a systematic approach is crucial to ensure a successful extraction process. The removal phase involves disconnecting various components and unbolting the manifold with precision. Handling rust and damage requires careful inspection and effective techniques to address any issues that may arise during the removal procedure.
Disconnecting Components
To initiate the removal of the Engine Exhaust Manifold, start by disconnecting essential components that secure it in place. This step is vital in creating space for the subsequent unbolt process without causing damage to surrounding parts.
Removing Heat Shields
Begin by identifying and removing any heat shields attached to the exhaust manifold. These shields serve to protect nearby components from excessive heat generated during engine operation. Carefully detach them using appropriate tools to avoid any potential harm or distortion.
Disconnecting Exhaust Pipes
Next, proceed to disconnect the exhaust pipes connected to the manifold. These pipes play a critical role in directing exhaust gases away from the engine, contributing to optimal performance. Loosen the connections carefully, ensuring a smooth separation without causing any unnecessary strain on the components.
Unbolting the Manifold
After successfully disconnecting all relevant components, it is time to focus on unbolting the Ford 6.2 exhaust manifold from its position. This step requires meticulous attention to detail and patience to prevent any complications or damage during the extraction process.
Applying Penetrating Oil
Before attempting to remove any bolts or studs securing the manifold, apply penetrating oil generously around these fasteners. The oil helps penetrate rust or corrosion that may have accumulated over time, facilitating easier loosening of stubborn bolts and studs.
Removing Bolts and Studs
Using a suitable wrench or socket, carefully remove each bolt and stud holding the exhaust manifold in place. Proceed systematically, ensuring even pressure distribution across all fasteners to prevent uneven stress on the manifold or surrounding components. Take your time with this step to avoid shearing off bolts or damaging threads.
Handling Rust and Damage
During the removal process, it is common to encounter rusted components or potential damage that may impede progress. Addressing these issues promptly is essential in maintaining efficiency and preventing complications during subsequent installation steps.
Inspecting for Rust
Thoroughly inspect all removed bolts, studs, and mounting points for signs of rust or corrosion. If significant rust is present, consider cleaning or replacing affected parts before proceeding with reinstallation. Ensuring a clean surface free from rust promotes better fitting of new components.
Removing Broken Studs
In cases where broken studs are encountered during unbolt…
Installing the New Manifold
Preparing the New Manifold
Checking Fitment
To ensure a seamless installation process, Ford 6.2 exhaust manifold replacement enthusiasts should begin by meticulously examining the new manifold for proper fitment. This step is crucial in guaranteeing that the replacement component aligns perfectly with the engine block, facilitating a secure and efficient installation.
- Inspect the new exhaust manifold for any irregularities or discrepancies that may hinder its compatibility with the vehicle’s engine.
- Verify that all mounting points and bolt holes on the manifold correspond accurately to those on the engine block, ensuring a precise fit.
- Prioritize checking the alignment of gasket surfaces to prevent leaks and maintain optimal performance post-installation.
- Confirm that the dimensions and design of the new manifold match those of the original component, minimizing potential issues during assembly.
Installing Gaskets
Once satisfied with the fitment assessment, it is time to proceed with installing gaskets onto the Ford 6.2 exhaust manifold. Gaskets play a vital role in sealing gaps between components, preventing exhaust leaks and ensuring efficient operation of the exhaust system.
- Carefully position the gaskets on both ends of the manifold, aligning them accurately with corresponding surfaces on the engine block.
- Ensure that gaskets are placed securely without any folds or misalignments that could compromise their sealing capabilities.
- Apply a thin layer of high-temperature sealant or anti-seize compound to enhance gasket adhesion and create a tight seal against potential leaks.
- Double-check that gaskets are seated flush against both mating surfaces, guaranteeing airtight connections once fully installed.
Bolting the Manifold
Aligning the Manifold
With gaskets in place, it is essential to focus on aligning the Ford 6.2 exhaust manifold correctly before proceeding with bolting. Proper alignment ensures uniform pressure distribution across all mounting points, reducing stress on individual components.
- Align each bolt hole on the manifold with its corresponding location on the engine block, maintaining symmetry throughout.
- Adjust positioning as needed to achieve optimal alignment, taking care not to force any connections or create misalignments.
- Verify that gasket edges remain aligned within their designated areas to prevent potential leaks once fully assembled.
- Conduct a final visual inspection to confirm precise alignment before initiating bolting procedures.
Tightening Bolts and Studs
Upon achieving satisfactory alignment, it is time to secure…
Testing and Final Checks
Upon completing the meticulous process of Ford 6.2 exhaust manifold replacement, thorough testing and final checks are essential to ensure the successful installation of the new component. Starting the engine post-installation allows for a comprehensive assessment of its performance, while conducting final adjustments guarantees optimal functionality.
Starting the Engine
Commencing with the engine startup is a pivotal moment in validating the effectiveness of the Ford 6.2 exhaust manifold replacement. This step serves as a practical test to identify any potential issues that may arise during operation, allowing for immediate corrective measures.
Checking for Leaks
The initial task after starting the engine involves inspecting meticulously for any signs of leaks around the newly installed Engine Exhaust Manifold. A leak-free system is crucial to prevent exhaust gases from escaping and impacting engine performance negatively.
- Examine: Carefully examine all connection points, focusing on gasket areas and bolt locations.
- Verify: Confirm that there are no visible traces of exhaust residue or moisture indicating a leak.
- Monitor: Continuously monitor for any irregularities such as hissing sounds or unusual odors that could signify a leak.
- Address: If leaks are detected, promptly address them by tightening bolts or readjusting gaskets to achieve proper sealing.
Listening for Noises
Simultaneously with leak checks, listening attentively for abnormal noises emitted by the engine is crucial in identifying potential issues post-replacement. Unusual sounds can indicate misalignments, loose components, or other mechanical problems requiring immediate attention.
- Listen Closely: Focus on discerning any unfamiliar rattling, clanking, or whistling noises emanating from the engine bay.
- Identify Source: Pinpoint the source of any detected noise by moving around the vehicle and locating where it originates.
- Analyze Pattern: Analyze whether noises occur consistently or intermittently to determine their severity and impact on performance.
- Consult Professional: If persistent or concerning noises persist, seek guidance from a professional mechanic to diagnose and resolve underlying issues effectively.
Final Adjustments
Concluding the testing phase involves implementing final adjustments to guarantee precision and stability in the newly replaced Ford 6.2 exhaust manifold system. Tightening bolts securely and inspecting connections thoroughly are vital steps towards ensuring long-term functionality.
Tightening Bolts
After initial testing procedures, focusing on tightening bolts securing…
- To recap, the meticulous process of Ford 6.2 exhaust manifold replacement involves disconnecting components, unbolting the old manifold, handling rust and damage, preparing and installing the new manifold with precision.
- Proper installation is crucial to prevent leaks and ensure optimal engine performance post-replacement.
- Final tips include using high-quality gaskets and bolts, conducting thorough testing for leaks and abnormal noises, and seeking professional assistance if needed for a seamless Ford 6.2 exhaust manifold replacement experience.
Post time: Jun-17-2024