


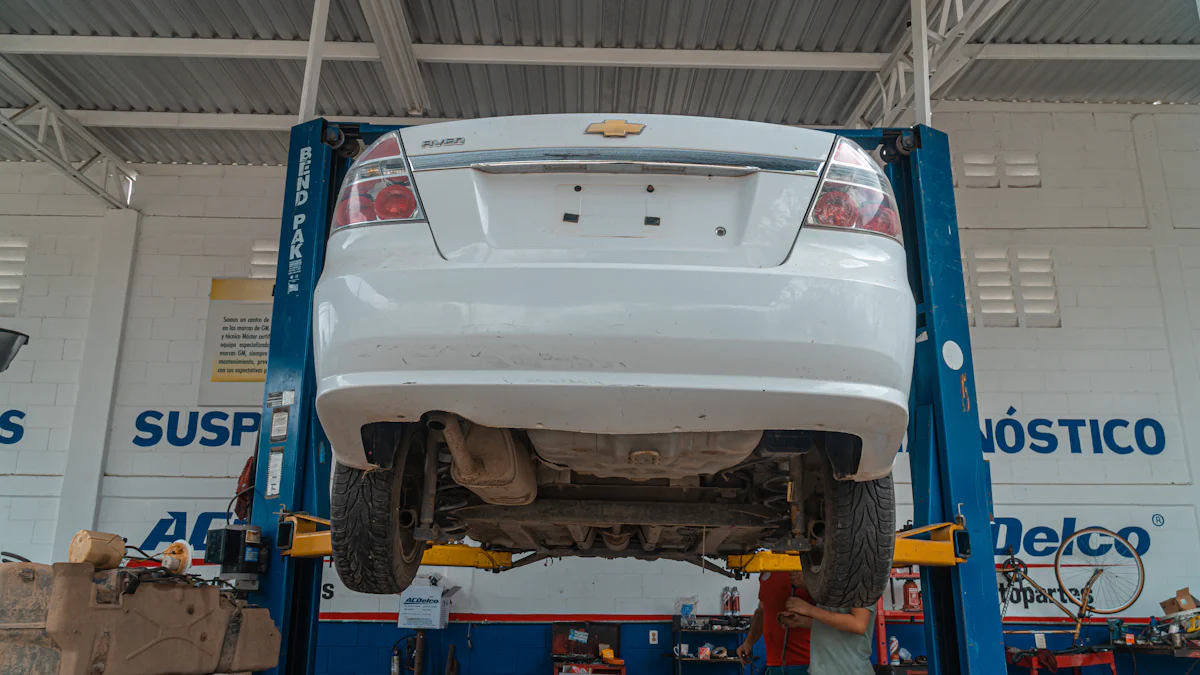
Repairing Engine exhaust manifold leaks is crucial for optimal vehicle performance and safety. By utilizing an exhaust manifold clamp repair kit, you can efficiently address issues without the hassle of having to Remove Broken Exhaust Flange. This innovative solution not only saves time but also ensures a secure seal, preventing potential damage to your engine. Let’s delve into the benefits of this repair method and gain insights into the seamless process ahead.
Preparation

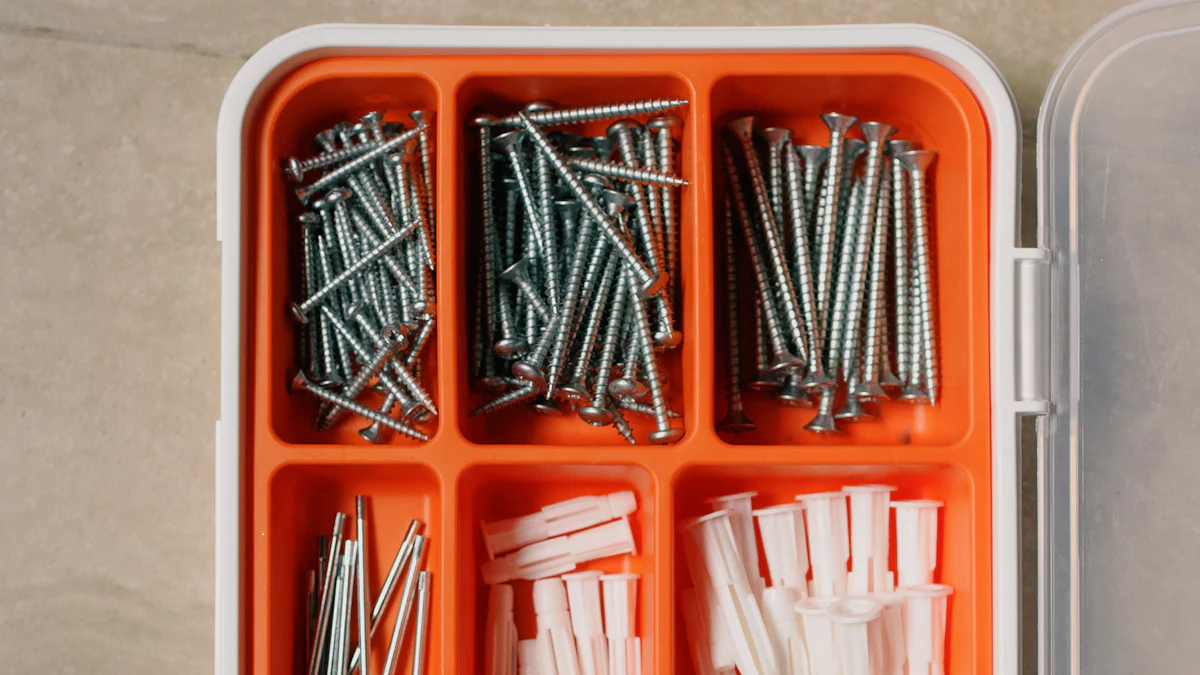
When embarking on the repair journey, it is essential to Gather Necessary Tools for a seamless process. The tools you will require are easily accessible and crucial for a successful repair. Let’s delve into the tools list that will aid you in this endeavor:
Tools List
- Wrench: A versatile tool that allows you to tighten or loosen bolts with ease.
- Socket Set: Ideal for reaching bolts in tight spaces and providing a secure grip.
- Pliers: Useful for holding small objects or bending wires during the repair process.
- Screwdriver: Essential for driving screws into place and removing them effortlessly.
- Wire Brush: Helps in cleaning rust and debris from the exhaust manifold, ensuring a smooth surface.
Safety Gear
Prioritize your safety by equipping yourself with the necessary safety gear to prevent any mishaps during the repair process. Safety should always be your top priority when working on vehicle repairs. Here are some safety gear essentials:
- Safety Glasses: Protect your eyes from debris and ensure clear vision throughout the repair.
- Gloves: Shield your hands from sharp edges or hot surfaces, providing comfort and protection.
- Face Mask: Prevent inhaling harmful fumes or particles while working on the exhaust manifold.
Inspect the Exhaust Manifold
Before proceeding with the repair, it is crucial to thoroughly inspect the exhaust manifold to identify any issues that may hinder the process. By conducting a detailed inspection, you can pinpoint areas that require attention and ensure a smooth repair experience.
Identify Broken Fasteners
Carefully examine the exhaust manifold to locate any broken fasteners that might impede the installation of the clamp repair kit. Identifying these broken bolts early on will allow you to address them effectively without causing further damage.
Check for Corroded Fasteners
In addition to broken fasteners, check for corroded fasteners that may pose challenges during the repair process. Corrosion can weaken fasteners over time, making them difficult to remove or replace. By identifying corroded fasteners beforehand, you can take appropriate measures to address them efficiently.
Clean the Area
To facilitate a successful repair and ensure optimal performance of the clamp repair kit, it is imperative to clean the area surrounding the exhaust manifold thoroughly.
Remove Debris
Clear any debris or dirt accumulated around the exhaust manifold using a wire brush or compressed air. A clean workspace will prevent contamination and interference during installation.
Ensure a Clean Surface
Wipe down the surface of the exhaust manifold using a clean cloth soaked in degreaser to remove any grease or residue that could affect the seal of the clamp repair kit. A clean surface is essential for achieving a secure and long-lasting seal.
Installation Steps
STEP 1: Position the Clamp
When Positioning the Clamp, ensure it aligns perfectly with the exhaust manifold for a seamless repair process. The correct alignment is crucial to guarantee a secure and effective seal that prevents leaks and enhances your vehicle’s performance.
Align with Exhaust Manifold
Aligning the clamp precisely with the exhaust manifold is the first step towards a successful repair. This alignment ensures that the clamp fits snugly in place, creating a tight seal that withstands pressure and heat, promoting optimal engine function.
Ensure Proper Fit
Ensuring the Proper Fit of the clamp is essential to prevent any gaps or inconsistencies that could lead to leaks. A secure fit guarantees that the clamp remains stable under various driving conditions, providing long-lasting protection for your exhaust system.
STEP 2: Secure the Clamp
Once you have positioned the clamp correctly, it’s time to Secure it in place using the provided bolts. Properly securing the clamp ensures that it remains stable and tightly sealed, preventing any potential issues down the road.
Tighten Bolts
When tightening the bolts, use an appropriate tool to apply even pressure and secure each bolt firmly. This step is critical in maintaining the integrity of the seal and preventing any loosening over time, ensuring a durable and reliable repair.
Check for Stability
After securing the clamp, Check its stability by gently testing its resistance to movement. A stable clamp will not shift or wiggle when touched, indicating a secure attachment to the exhaust manifold. Confirming its stability at this stage sets the foundation for a successful repair outcome.
STEP 3: Test for Leaks
Testing for leaks is a crucial final step in ensuring that your repair has been effective. By following these simple steps, you can verify that your exhaust system is properly sealed and functioning optimally.
Start the Engine
Start your vehicle’s engine and allow it to run for a few minutes to pressurize the exhaust system. This step helps identify any immediate leaks or irregularities in the repaired area, allowing you to address them promptly before further damage occurs.
Listen for Leaks
While your engine is running, listen closely for any unusual sounds coming from the repaired section of your exhaust manifold. Any hissing or escaping air indicates a leak that requires attention. By actively listening during this test phase, you can pinpoint and resolve any remaining issues effectively.
STEP 4: Final Adjustments
Re-tighten Bolts
To ensure the longevity and effectiveness of your repair, it is crucial to re-tighten the bolts securely. By revisiting each bolt and applying the necessary torque, you reinforce the seal and prevent any potential loosening over time. This simple yet essential step enhances the stability of the clamp, providing lasting protection for your exhaust system.
- Confirm each bolt is properly seated in place.
- Apply consistent pressure when tightening to maintain a secure connection.
- Double-check all bolts to guarantee a uniform tightness across the clamp.
Ensure a Secure Fit
Verifying the secure fit of the clamp is paramount to its performance and durability. By confirming that the clamp sits snugly against the exhaust manifold, you eliminate gaps that could lead to leaks or instability. This final check ensures that your repair is solid and reliable, offering peace of mind as you hit the road.
- Inspect the entire perimeter of the clamp for any signs of misalignment.
- Press gently on different points to confirm a tight seal without movement.
- Conduct a visual assessment to guarantee no gaps between the clamp and manifold.
Troubleshooting and Tips
Common Issues
Loose Clamp
When a clamp becomes loose, it can lead to inefficiencies in your exhaust system. The clamp should provide a tight seal to prevent leaks and maintain optimal performance. To address this issue effectively, consider the following steps:
- Check Tightness: Ensure that all bolts are securely fastened to create a firm connection between the clamp and the exhaust manifold.
- Inspect Alignment: Verify that the clamp is correctly positioned and aligned with the exhaust manifold for a secure fit.
- Re-Tighten Bolts: If you notice any looseness, re-tighten the bolts using appropriate tools to reinforce the seal and stability of the clamp.
- Test for Leaks: After re-securing the bolts, conduct a leak test by starting your engine and listening for any unusual sounds that may indicate remaining issues.
Addressing a loose clamp promptly will ensure that your exhaust system functions efficiently without any disruptions.
Persistent Leaks
Persistent leaks in your exhaust system can impact both performance and safety. Identifying and resolving these leaks is crucial for maintaining your vehicle’s overall health. Here are some steps to help you tackle persistent leaks effectively:
- Thorough Inspection: Conduct a comprehensive inspection of the exhaust manifold and surrounding areas to pinpoint the source of the persistent leaks.
- Replace Faulty Components: If you identify damaged or worn-out parts contributing to the leaks, consider replacing them with high-quality components to ensure a reliable repair.
- Apply Sealant: In cases where minor gaps or cracks are causing leaks, applying an appropriate sealant can help create a tight seal and prevent further leakage.
- Professional Assessment: If persistent leaks persist despite your efforts, seeking assistance from a professional mechanic can provide expert insight into resolving complex issues within your exhaust system.
By addressing persistent leaks proactively, you can enhance your vehicle’s performance and longevity while ensuring a smooth driving experience.
Maintenance Tips
Regular Inspections
Regular inspections of your exhaust system are essential for early detection of potential issues that could affect performance. Implementing routine checks allows you to identify problems promptly and take necessary actions to prevent further damage. Consider these maintenance tips for optimal upkeep:
- Inspect Exhaust Manifold: Regularly check the condition of the exhaust manifold for signs of wear, corrosion, or damage that may lead to leaks.
- Monitor Fasteners: Keep an eye on fasteners securing the manifold clamp to ensure they remain tight and intact.
- Listen for Abnormal Noises: Pay attention to any unusual sounds coming from your exhaust system as they may indicate underlying issues requiring attention.
- Visual Examination: Perform visual inspections of all components related to the exhaust system to detect any visible signs of wear or deterioration.
By incorporating regular inspections into your maintenance routine, you can address potential concerns early on and maintain an efficient exhaust system.
Preventative Measures
Taking proactive measures can significantly reduce the likelihood of encountering major issues with your exhaust system down the line. By implementing preventative strategies, you can prolong the lifespan of components and minimize unexpected repairs. Here are some preventative measures to consider:
- Use High-Quality Parts: Opt for reputable brands when replacing components in your exhaust system to ensure durability and reliability.
- Avoid Excessive Heat Exposure: Minimize prolonged exposure of your vehicle’s exhaust system to extreme heat sources that could accelerate wear and deterioration.
- Follow Manufacturer Guidelines: Adhere to manufacturer recommendations regarding maintenance schedules and service intervals for optimal performance.
- Address Issues Promptly: Attend to any unusual symptoms or warning signs promptly by seeking professional assistance before they escalate into more significant problems.
By adopting preventative measures as part of your maintenance regimen, you can safeguard your exhaust system against premature wear and costly repairs in the future.
Recap of the Repair Process:
- Revisit your successful repair journey with the exhaust manifold clamp kit, ensuring a secure seal without the hassle of removing broken studs. The meticulous inspection, cleaning, and precise installation steps have led to a durable solution for your exhaust leaks.
Benefits of Using the Exhaust Manifold Clamp Repair Kit:
- Experience the efficiency and effectiveness of the repair kit firsthand as it eliminates the need for complex extraction processes. Enjoy a secure seal that enhances your engine’s performance without compromising on quality or durability.
Encouragement to Use the Kit for Future Repairs:
- Embrace the convenience and reliability of the exhaust manifold clamp repair kit for all your future repair needs. Join satisfied users like Anonymous User, who found long-lasting success with Kral clamps, ensuring a noise-free driving experience while prioritizing essential tasks. Trust in this innovative solution for seamless repairs and optimal vehicle performance.
Post time: Jun-11-2024