


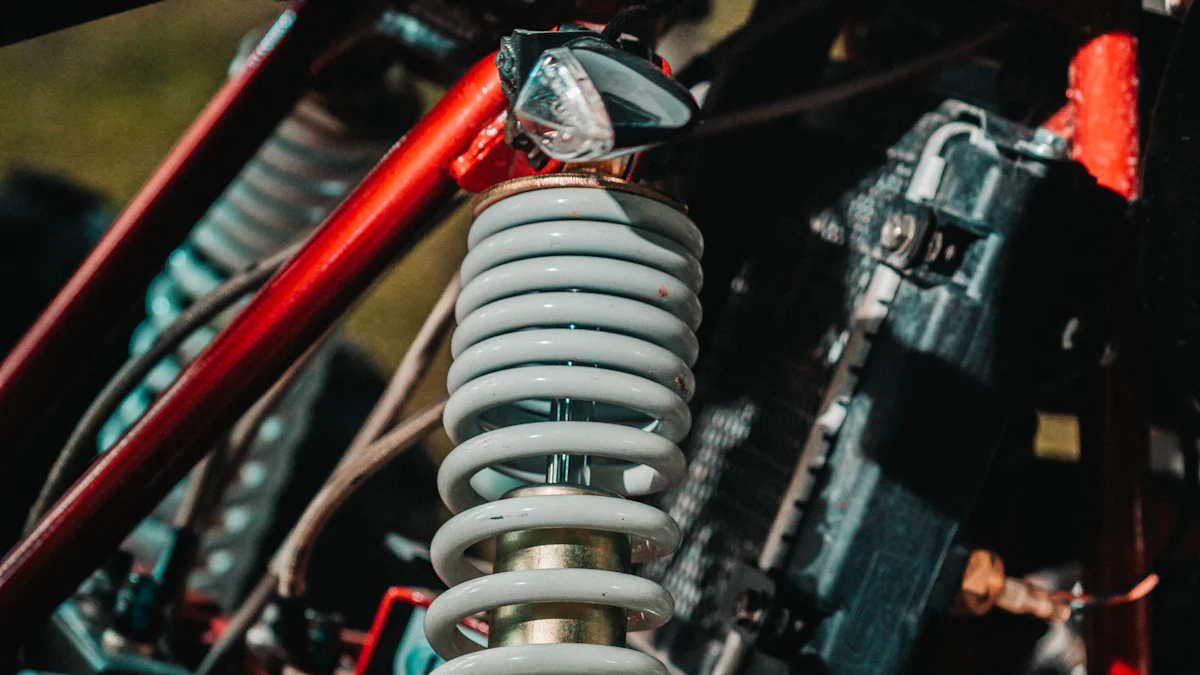
High-performance dampers are essential for vehicle handling and performance. These high performance dampers are designed to absorb damaging torsional vibrations, improving stability and driving comfort. When installing high performance dampers, it is crucial to use specific tools and parts. Necessary items include a jack, jack stands, mounting bolts, and lubrication. Safety is of utmost importance. Always wear personal protective equipment (PPE) like gloves and safety glasses. Maintaining vehicle stability during installation is key to avoid accidents. Correct installation of high performance dampers ensures optimal performance and safeguards the engine.
Preparation
Gathering Tools and Parts
List of Required Tools
Proper installation of high-performance dampers necessitates specific tools. The following list outlines the essential tools:
- Jack
- Jack stands
- Socket set
- Torque wrench
- Screwdrivers
- Pry bar
- Lubricant
- Loctite
List of Required Parts
Equally important are the parts required for the installation. Ensure availability of the following items:
- High-performance dampers
- Mounting bolts
- Lubrication grease
- Any additional hardware specified by the damper manufacturer
Safety Precautions
Personal Protective Equipment (PPE)
Safety remains paramount during the installation process. Always wear the following personal protective equipment (PPE):
- Safety glasses
- Gloves
- Steel-toed boots
- Long-sleeved clothing
Vehicle Safety Measures
Maintaining vehicle stability is crucial to prevent accidents. Follow these measures:
- Secure the Vehicle: Use wheel chocks to prevent any movement.
- Lift the Vehicle Properly: Position the jack under the vehicle’s designated lifting points.
- Stabilize with Jack Stands: Place jack stands under the vehicle and ensure they are secure before starting any work.
- Double-Check Stability: Gently shake the vehicle to confirm it is stable on the jack stands.
By adhering to these preparation steps, the installation process will proceed smoothly and safely.
Removing the Old Dampers
Lifting the Vehicle
Using a Jack and Jack Stands
Place the jack under the vehicle’s designated lifting points. Raise the vehicle until the wheels are off the ground. Position jack stands under the vehicle’s frame or designated support areas. Lower the vehicle onto the jack stands, ensuring stability.
Ensuring Vehicle Stability
Verify that the vehicle rests securely on the jack stands. Gently shake the vehicle to confirm stability. Use wheel chocks to prevent any unintended movement.
Detaching the Old Dampers
Locating the Damper Mounts
Identify the mounting points of the old dampers. Refer to the vehicle’s manual for precise locations. Typically, these mounts are near the suspension components.
Removing Mounting Bolts
Use a socket set to loosen and remove the mounting bolts. Apply penetrating oil if bolts appear rusted or difficult to turn. Keep the removed bolts in a safe place for potential reuse.
Extracting the Old Dampers
Carefully pull the old dampers from their mounts. Use a pry bar if necessary to dislodge stubborn dampers. Inspect the removed dampers for any signs of wear or damage. Dispose of the old dampers according to local regulations.
By following these steps, the removal process of the old dampers will be efficient and safe.
Installing the New High Performance Dampers

Preparing the New High Performance Dampers
Inspecting the New Dampers
Examine each high performance damper for any visible defects. Ensure that the dampers match the specifications required for the vehicle. Verify that all components, including mounting hardware, are present and in good condition. This step prevents potential issues during installation.
Applying Lubrication
Apply a thin layer of lubrication to the mounting points of the new high performance dampers. Use a high-quality lubricant to ensure smooth installation and operation. Proper lubrication reduces friction and prevents premature wear.
Mounting the New High Performance Dampers
Positioning the Dampers
Align the new high performance dampers with the designated mounting points on the vehicle. Ensure that the dampers fit snugly into place. Proper alignment is crucial for optimal performance and stability.
Securing the Mounting Bolts
Insert the mounting bolts through the damper mounts and tighten them by hand initially. Use a torque wrench to secure the bolts to the manufacturer’s specified torque settings. Applying the correct torque ensures that the dampers remain securely in place.
Ensuring Proper Alignment
Double-check the alignment of the high performance dampers after securing the bolts. Adjust the positioning if necessary to ensure that the dampers are properly aligned. Proper alignment enhances the effectiveness of the dampers in reducing vibrations and improving vehicle stability.
Final Checks and Adjustments
Lowering the Vehicle
Removing Jack Stands
Begin by ensuring all tools are clear from under the vehicle. Position the jack back under the vehicle’s designated lifting points. Carefully raise the vehicle just enough to remove the jack stands. Once the jack stands are out, set them aside in a safe location.
Carefully Lowering the Vehicle
Slowly lower the vehicle back to the ground using the jack. Maintain control of the jack handle to ensure a smooth descent. Confirm that the vehicle rests evenly on all four wheels. Double-check for any signs of instability before proceeding.
Testing the Installation
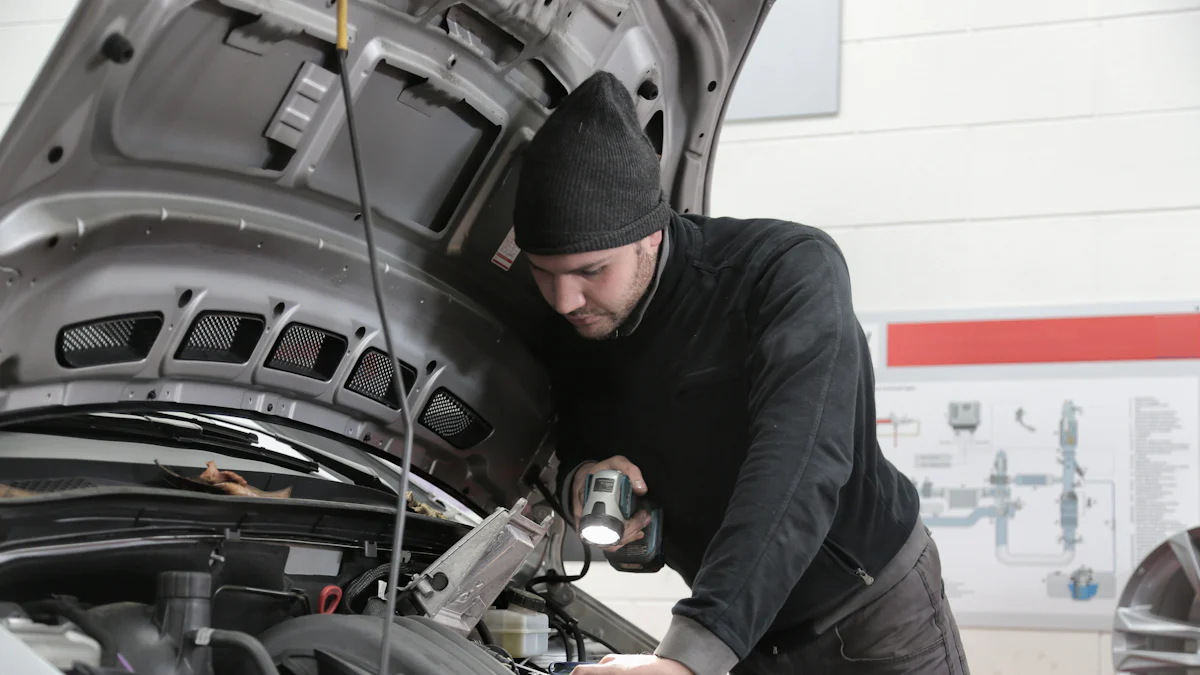
Visual Inspection
Conduct a thorough visual inspection of the newly installed high-performance dampers. Look for any misalignment or loose bolts. Verify that all mounting bolts are tightened to the manufacturer’s specified torque settings. Ensure that no tools or debris remain in the work area.
Test Drive
Perform a test drive to evaluate the performance of the new dampers. Start with a slow drive around the block to check for any unusual noises or vibrations. Gradually increase speed and take note of the vehicle’s handling and stability. Pay attention to how the vehicle responds to turns and uneven road surfaces. If any issues arise, recheck the installation and make necessary adjustments.
By following these final checks and adjustments, the installation process will be complete, and the vehicle will benefit from improved performance and handling.
The installation process for a high performance damper involves several critical steps. Proper preparation, removal of old dampers, and careful installation of new ones ensure optimal vehicle performance. Regular maintenance of high performance dampers is essential to sustain their effectiveness and longevity. Routine inspections can identify potential issues early, preventing costly repairs. For complex installations or if any uncertainties arise, seeking professional help guarantees the best results and ensures safety.
Post time: Jul-26-2024