


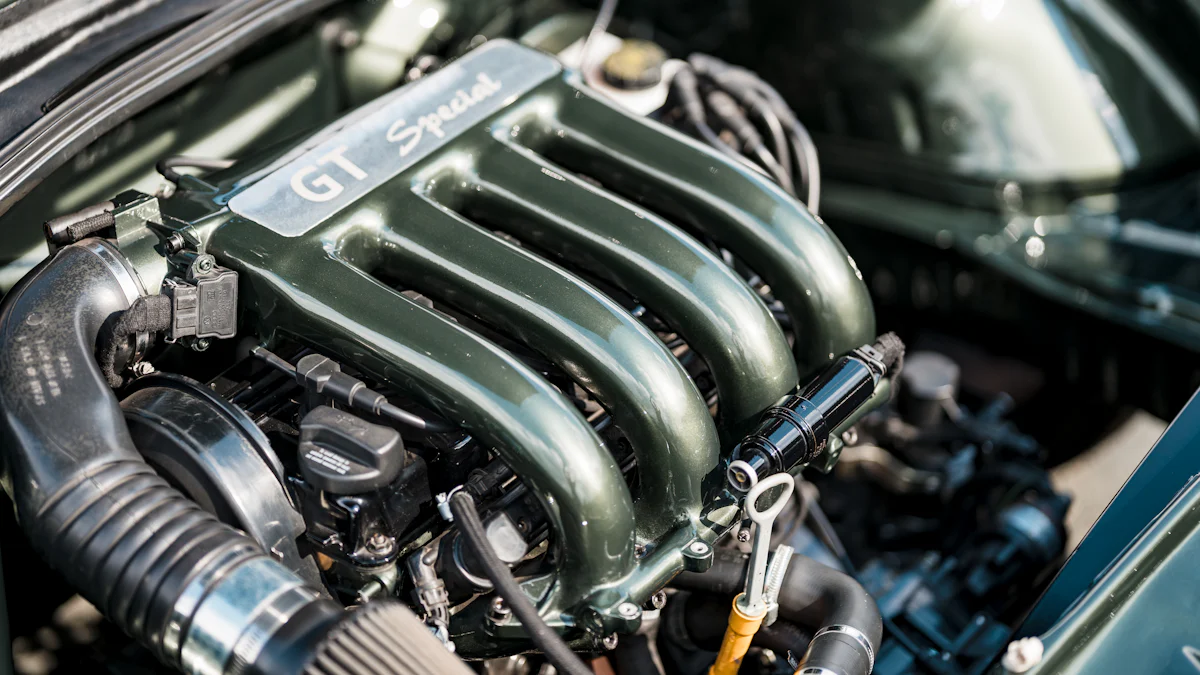
The Jeep 4.0 engine stands as a robust powerhouse known for its reliability and endurance in the automotive realm. The intake manifold plays a pivotal role in optimizing the engine’s performance by regulating the air-fuel mixture. Understanding the significance of the intake manifold Jeep 4.0, enthusiasts seek ways to enhance their vehicle’s capabilities, often turning to options like an aftermarket intake manifold for potential upgrades. Exploring the intricacies of this component unveils a world of possibilities for improving engine efficiency and power output.
Tools and Materials Needed
Essential Tools
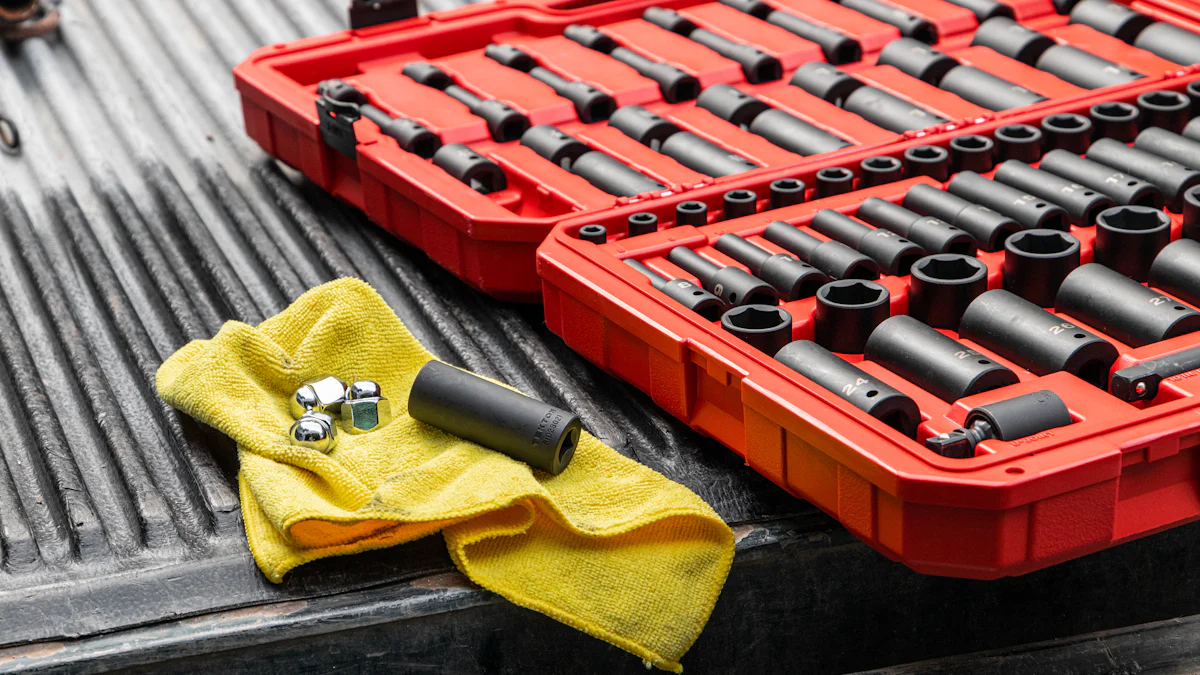
Wrenches and Sockets
To begin the replacement process effectively, secure a set of wrenches and sockets. These tools will aid in loosening and tightening bolts with precision, ensuring a seamless transition between the old and new intake manifolds.
Screwdrivers
Another essential tool for this task is a reliable set of screwdrivers. These instruments will assist in delicate tasks such as removing screws or prying components apart without causing damage to surrounding parts.
Torque Wrench
A torque wrench is crucial for achieving the correct level of tightness when securing bolts. This precision tool ensures that each bolt is fastened to the manufacturer’s specifications, preventing any potential issues during operation.
Required Materials
New Intake Manifold
Obtain a new intake manifold specifically designed for your Jeep 4.0 engine model. This component serves as the heart of the intake system, guiding airflow to optimize engine performance and efficiency.
Gaskets and Seals
Gaskets and seals are vital for creating a proper seal between components, preventing air leaks that could affect engine operation. Ensure you have high-quality gaskets and seals that are compatible with your Jeep 4.0 engine to guarantee a secure fit.
Cleaning Supplies
Prepare cleaning supplies to ensure a pristine work environment throughout the replacement process. Cleaning solvents, rags, and brushes will help you remove any debris or residue from the intake manifold area, promoting a smooth installation experience.
Preparation Steps
Safety Precautions
Disconnecting the Battery
To ensure a safe working environment, disconnect the battery before initiating any replacement procedures. This precautionary measure prevents electrical mishaps and guarantees a secure workspace for the task ahead.
Working in a Well-Ventilated Area
Working in a well-ventilated area is essential during the intake manifold replacement process. Adequate ventilation helps disperse fumes and ensures a breathable atmosphere, promoting comfort and safety throughout the procedure.
Initial Setup
Gathering Tools and Materials
Begin by gathering all necessary tools and materials required for the replacement. Having everything prepared beforehand streamlines the process, allowing for efficient workflow and minimizing interruptions during the installation of the new intake manifold.
Preparing the Work Area
Prepare your work area by organizing tools, laying out materials, and ensuring ample space to maneuver around the vehicle. A clean and organized workspace enhances productivity and reduces the likelihood of misplacing crucial components during the replacement process.
Removing the Old Intake Manifold
Disconnecting Components
When preparing to remove the old intake manifold, the initial step involves removing the air intake hose. This action allows for clear access to the manifold, facilitating a smooth extraction process. Following this, disconnecting the fuel lines is imperative to prevent any fuel leaks and ensure a safe working environment.
Unbolting the Manifold
To proceed with precision, start by locating the bolts securing the old intake manifold in place. Identifying these fasteners sets the stage for a systematic removal process. Subsequently, removing the bolts one by one with care and attention guarantees a controlled disassembly of the manifold, paving the way for its replacement.
Cleaning the Surface
After successfully detaching the old intake manifold, focus on removing any remnants of old gasket material left behind. Thoroughly cleaning this area is essential to prepare a pristine surface for installing the new manifold effectively. Additionally, cleaning the mounting surface ensures optimal contact between components, promoting a secure fit and seamless operation.
Installing the New Intake Manifold

Positioning the Manifold
To ensure a precise fit, aligning the intake manifold correctly is crucial. This step guarantees optimal airflow within the engine, enhancing overall performance. Placing the gaskets strategically between components creates a secure seal, preventing air leaks that could impact engine operation.
Securing the Manifold
Securing the new intake manifold involves tightening the bolts meticulously. Each bolt plays a vital role in maintaining the integrity of the assembly. Using a torque wrench ensures that every bolt is fastened to the manufacturer’s specifications, promoting stability and reliability in operation.
Reconnecting Components
After securing the manifold, reattaching the fuel lines is essential for proper functionality. Ensuring a secure connection prevents fuel leaks and maintains operational safety. Subsequently, reconnecting the air intake hose completes the installation process, allowing for seamless airflow regulation within the engine.
Final Checks and Testing
Inspecting the Installation
Verifying for Any Leaks
Upon completing the installation, a thorough inspection is necessary to verify the absence of any leaks. This crucial step ensures that all components are securely in place, maintaining the integrity of the system.
Ensuring Proper Alignment
Ensuring proper alignment of the intake manifold is paramount for optimal performance. By confirming that each part is correctly positioned, you guarantee smooth airflow and efficient operation within the engine.
Testing the Engine
Initiating Engine Startup
Initiating the startup process allows you to assess the functionality of the newly installed intake manifold. This step kickstarts the engine, enabling you to observe its initial response and performance.
Monitoring Overall Performance
Continuously monitoring the engine’s performance post-installation provides valuable insights into its efficiency. By observing factors such as power delivery and responsiveness, you can evaluate the impact of the new intake manifold on your Jeep 4.0 engine.
In summarizing the meticulous intake manifold replacement process, it’s evident that attention to detail is paramount for optimal engine performance. Regular maintenance is key to preserving your Jeep’s longevity and efficiency. Should complexities arise, don’t hesitate to seek professional assistance for expert guidance. Your feedback and questions are invaluable in our continuous quest for automotive excellence.
Post time: Jul-01-2024