


The Engine harmonic balancer, a vital component in engine operation, plays a crucial role in reducing engine vibration and ensuring smooth performance. C4 Corvette harmonic balancer removal presents specific challenges for owners of this model. Understanding the removal process is key to maintaining the vehicle’s optimal functionality.
Tools and Preparation
Required Tools
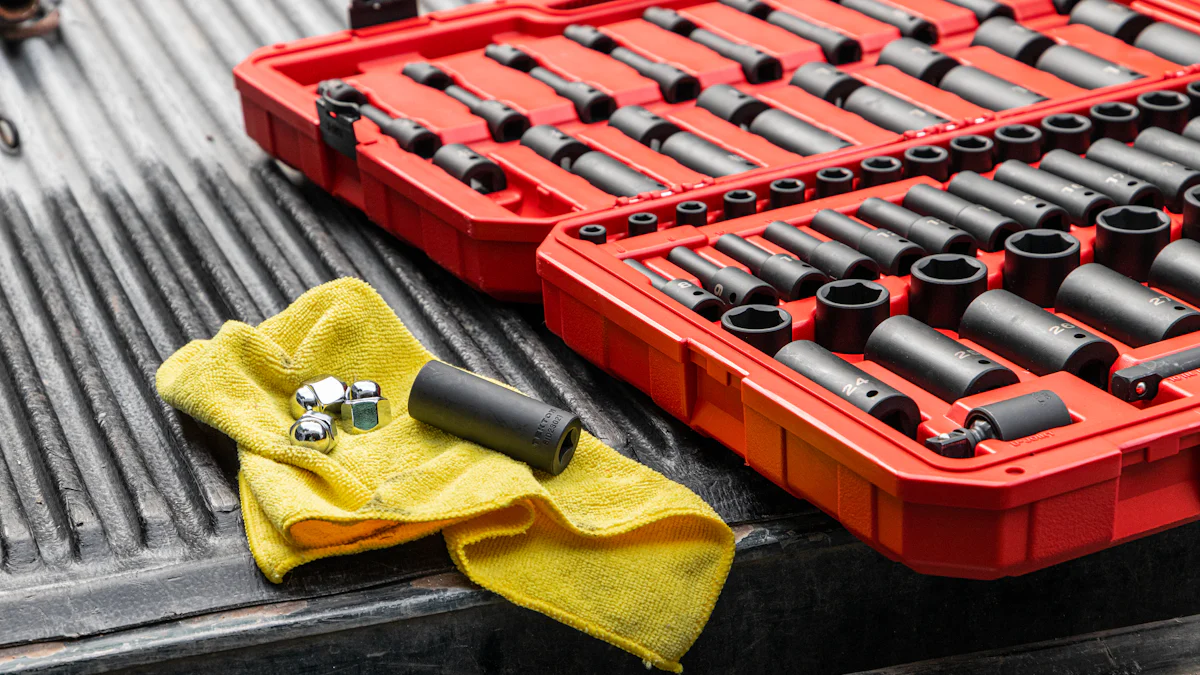
When preparing to remove the Harmonic Balancer from your C4 Corvette, it is essential to have the necessary tools at hand. Here are the tools you will need:
Basic Tools
- Socket Wrench Set: A set of various socket sizes will be required for loosening bolts.
- Torque Wrench: Essential for tightening bolts to the correct specifications.
- Screwdrivers: Both flathead and Phillips screwdrivers may be needed for different components.
Specialized Tools
- Harmonic Balancer Removal Tool: A specialized tool like Kent-Moore is necessary for removing the harmonic balancer and crank hub on a 95 LT1 engine.
- Harmonic Balancer Puller: Consider renting a harmonic balancer puller tool from AutoZone, as it is recommended for an efficient removal process.
- Harmonic Balancer Installer: This tool is crucial for installing the new harmonic balancer properly. In case of unavailability, a modified puller can serve as an alternative.
Safety Precautions
Prioritize safety when working on your vehicle to prevent accidents or injuries during the removal process. Remember these safety precautions:
- Always wear protective gear such as gloves and safety goggles to shield yourself from any potential hazards.
- Ensure the car is parked on a level surface with the parking brake engaged to prevent any unexpected movement.
- Disconnect the battery before starting any work to avoid electrical mishaps.
Vehicle Preparation
Properly preparing your vehicle before removing the harmonic balancer is crucial for a smooth process. Follow these steps:
Lifting the Car
- Use a hydraulic jack to lift your C4 Corvette securely, ensuring it is stable on jack stands before beginning any work underneath.
- Position the jack stands under sturdy parts of the chassis for added support while working on the vehicle.
Disconnecting the Battery
- Locate the battery in your Corvette’s engine bay or trunk area.
- Use a wrench or socket set to loosen and remove both terminals of the battery, starting with the negative terminal followed by the positive terminal.
By having all necessary tools ready, following safety precautions, and adequately preparing your vehicle, you are now set to begin removing the harmonic balancer from your C4 Corvette.
Step-by-Step Removal Process
Accessing the Harmonic Balancer
To begin the process of removing the harmonic balancer from your C4 Corvette, you first need to access the component. This involves carefully removing the serpentine belt and taking out the radiator fan to reach the balancer effectively.
Removing the Serpentine Belt
- Start by locating the tensioner pulley, which allows you to release tension on the belt.
- Use a socket wrench to rotate the tensioner pulley, enabling you to slip off the serpentine belt easily.
- Slowly remove the belt from each pulley, ensuring not to damage any surrounding components.
Removing the Radiator Fan
- Identify the bolts securing the radiator fan in place near the harmonic balancer.
- Utilize an appropriate socket size to loosen and remove these bolts carefully.
- Gently lift and detach the radiator fan from its housing, creating more space for accessing the harmonic balancer.
Removing the Harmonic Balancer
With clear access to the harmonic balancer, it’s time to proceed with its removal by following these essential steps:
Loosening the Bolts
- Locate and identify all bolts securing the harmonic balancer in place on your C4 Corvette engine.
- Use a suitable socket wrench size to loosen each bolt carefully but firmly without causing damage.
- Ensure all bolts are completely loosened before proceeding further with removing the balancer.
Using a Puller
- Attach a reliable harmonic balancer puller tool securely onto your harmonic balancer assembly.
- Gradually tighten and operate the puller tool according to its instructions, applying consistent pressure.
- As you use the puller tool, observe how it gradually dislodges and separates the harmonic balancer from its position on your engine.
Final Steps
After successfully removing the harmonic balancer, there are crucial final steps that should not be overlooked:
Inspecting The Balancer
- Thoroughly examine the removed harmonic balancer for any signs of wear, damage, or misalignment.
- Check for irregularities such as cracks, chips, or excessive wear that may indicate potential issues with engine performance.
Cleaning The Area
- Before proceeding with any reinstallation or maintenance tasks, ensure that both the area around where the harmonic balancer was located is clean and free of debris.
- Use a suitable cleaning agent or cloth to wipe down surfaces and remove any dirt or residue that could affect future operations positively.
By meticulously following these step-by-step procedures for accessing, removing, inspecting, and cleaning the harmonic balancer, you can ensure optimal performance and longevity for your C4 Corvette’s engine system.
Common Issues and Solutions
Stuck Balancer
When encountering a stuck balancer during the removal process, it can pose a significant challenge. To address this issue effectively, consider the following steps:
- Apply penetrating oil around the edges of the balancer to help loosen its grip on the crankshaft.
- Utilize a rubber mallet to gently tap around the balancer’s circumference, aiding in breaking any corrosion or rust bonds.
- Gradually increase pressure using a harmonic balancer puller tool, ensuring steady and controlled force application until the balancer releases.
- If necessary, employ heat from a heat gun to expand the metal slightly, facilitating easier removal without causing damage.
Damaged Bolts
Dealing with damaged bolts can impede the harmonic balancer removal process. Here are practical solutions to overcome this setback:
- Use a bolt extractor tool specifically designed for removing stripped or damaged bolts without causing further harm.
- Apply penetrating oil generously on the damaged bolt threads and allow it to sit for some time to aid in loosening.
- Employ a suitable drilling technique to carefully drill out the damaged bolt while avoiding damage to surrounding components.
- Consider seeking professional assistance if unable to remove the damaged bolts successfully, ensuring precision and expertise in handling such situations.
Reinstallation Tips
After successfully removing and addressing common issues with your harmonic balancer, reinstallation is crucial for optimal engine performance. Follow these essential tips for a seamless reinstallation process:
- Clean both the crankshaft hub and the new harmonic balancer, ensuring they are free from debris or contaminants that could affect their alignment.
- Utilize an appropriate installation tool or method recommended for your specific model to ensure proper fitting and alignment of the harmonic balancer.
- Tighten all bolts securely using a torque wrench according to manufacturer specifications, preventing any potential issues due to loose fittings.
- Conduct a thorough inspection post-reinstallation to verify that the harmonic balancer is correctly positioned and secured before resuming vehicle operation.
By addressing common issues such as stuck balancers and damaged bolts with effective solutions, along with following reinstallation tips diligently, you can ensure a successful harmonic balancer removal process for your C4 Corvette engine system.
To conclude, the removal process of the harmonic balancer from your C4 Corvette involves a systematic approach to ensure successful maintenance. Proper installation is paramount for optimal engine function and longevity. As a final tip, always refer to manufacturer specifications and guidelines for accurate fitting. By following these steps diligently, Corvette owners can effectively maintain their vehicle’s performance and prevent potential issues in the future.
Post time: Jun-03-2024