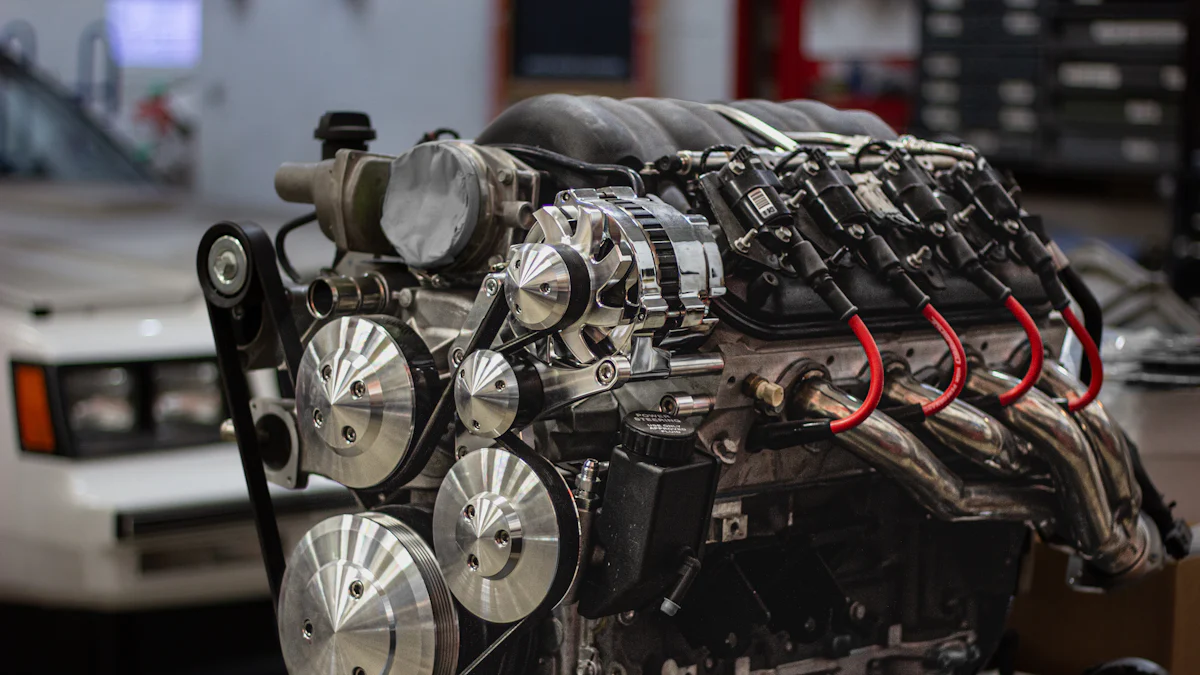
When considering engine upgrades, understanding the distinctions between the LS1 and LS2 engines is crucial. The LS2 intake manifold on LS1 presents a compelling opportunity for enhancing performance. Its installation on an LS1 engine can lead to significant horsepower gains, making it a popular choice among automotive enthusiasts. This blog will guide you through the step-by-step process of installing an LS2 intake manifold on an LS1 engine, detailing the necessary tools and materials required for a successful upgrade.
Preparation
Safety Precautions
When disconnecting the battery, ensure to follow proper safety protocols to prevent any electrical mishaps. Always prioritize safety by disconnecting the negative terminal first, followed by the positive terminal.
To ensure the engine is cool before starting any work, allow sufficient time for it to cool down completely. This step is essential to avoid any burns or injuries during the installation process.
Gathering Tools and Materials
For a successful installation, having the list of necessary tools ready is crucial. Prepare tools such as a socket wrench set, torque wrench, pliers, and screwdrivers. These tools will aid in efficiently completing the installation process.
As for the list of necessary materials, gather items like a new intake manifold gasket, cleaning solvents, and thread locker. Having these materials on hand will streamline the installation and ensure a secure fit for optimal performance.
Workspace Setup
When organizing tools and parts in your workspace, arrange them in an easily accessible manner. Keep all tools neatly organized to prevent misplacement and save time during the installation process.
To ensure adequate lighting and space for working on your engine, position bright LED lights around your workspace. Additionally, clear out any clutter to create a safe environment with ample room to maneuver while installing the LS2 intake manifold.
Removing the Old Intake Manifold

Disconnecting Components
Removing the air intake assembly
To begin the process of removing the old intake manifold, carefully detach the air intake assembly. This step involves unscrewing and removing any components connected to the assembly, ensuring a clear path for further disassembly.
Disconnecting fuel lines and electrical connectors
Next, proceed to disconnect the fuel lines and electrical connectors attached to the existing manifold. Carefully identify each connection point and use appropriate tools to detach them without causing any damage.
Unbolting the Intake Manifold
Sequence of unbolting
Following the disconnection of components, it is essential to follow a specific sequence for unbolting the intake manifold. Start by identifying and loosening each bolt systematically, ensuring no fastener is overlooked during this crucial step.
Lifting off the old manifold
Once all bolts are removed, gently lift off the old intake manifold from its place on the engine block. Take care not to force or damage any surrounding components during this process to facilitate a smooth transition to installing the new LS2 intake manifold.
Personal Experience:
During my own project, I found that taking extra time during this phase saved me from potential headaches later on. Ensuring a methodical approach in disconnecting and unbolted made a significant difference in how smoothly the installation proceeded.
Lessons Learned:
- Attention to Detail: Paying close attention to each connection point can prevent errors and streamline the removal process.
- Gentle Handling: Handling delicate components with care avoids unnecessary damage and simplifies future steps in upgrading your engine.
These insights emphasize the importance of meticulousness when removing the old intake manifold, setting a solid foundation for a successful upgrade process.
Preparing for the New Intake Manifold
Cleaning the Engine Surface
Removing old gasket material
- Scrape: Scrape off the remnants of the old gasket material using a plastic scraper. Ensure to remove all traces of the previous gasket to create a clean surface for the new intake manifold.
- Cleanse: Cleanse the engine surface with a non-abrasive cleaner to eliminate any residual debris or oil buildup. Thoroughly wipe down the area to guarantee a smooth and uncontaminated base for the upcoming installation process.
Inspecting and Replacing Gaskets
Types of gaskets needed
- Selection: Select appropriate gaskets designed specifically for your LS1 engine model. Opt for high-quality gaskets that offer durability and optimal sealing properties to prevent any leaks post-installation.
- Compatibility Check: Verify the compatibility of the chosen gaskets with both your LS1 engine and the LS2 intake manifold. Ensuring a precise fit will enhance performance and longevity after completing the upgrade.
Proper placement of new gaskets
- Alignment: Align each new gasket meticulously along its designated position on the engine block. Pay close attention to ensure proper alignment, avoiding any overlap or misplacement that could compromise sealing effectiveness.
- Secure Fitment: Press each gasket firmly into place, confirming a secure fit against the engine surface. This step is crucial in maintaining consistent compression and preventing potential air or fluid leaks in your upgraded system.
Installing the LS2 Intake Manifold

Positioning the New Manifold
Aligning the manifold correctly
To ensure precise alignment of the LS2 Intake Manifold, carefully position it on the engine block, aligning it with the designated mounting points. This step is crucial in guaranteeing a seamless fit that optimizes performance and airflow within the engine.
Ensuring a proper fit
Verify that the LS2 Intake Manifold fits securely onto the engine block, confirming that all connection points align accurately. A proper fitment is essential for maintaining structural integrity and preventing any potential leaks or malfunctions post-installation.
Bolting Down the Manifold
Torque specifications
Refer to the manufacturer’s guidelines for specific torque specifications when bolting down the LS2 Intake Manifold. Following these specifications ensures uniform pressure distribution across all fasteners, promoting stability and longevity in your upgraded engine system.
Sequence of bolting
Adhere to a systematic sequence when tightening the bolts securing the LS2 Intake Manifold. Start from one end and progressively work your way across, ensuring even tension on all bolts. This methodical approach prevents uneven stress distribution and maintains structural integrity.
Reconnecting Components
Reattaching fuel lines and electrical connectors
After securing the LS2 Intake Manifold in place, reconnect all fuel lines and electrical connectors to their respective ports on the manifold. Ensure each connection is secure and properly seated to prevent any potential leaks or electrical issues during engine operation.
Reinstalling the air intake assembly
Complete the installation process by reinstalling the air intake assembly onto the newly installed LS2 Intake Manifold. Secure all components firmly, ensuring airtight connections that promote efficient airflow into your upgraded engine system.
Final Checks and Testing
Inspecting for Leaks
Visual inspection
Upon completing the installation of the LS2 Intake Manifold on your LS1 engine, conduct a thorough visual inspection to identify any potential leaks. Examine all connection points and gaskets meticulously to ensure there are no visible signs of leakage that could impact the performance of your upgraded engine system.
Using a pressure tester
For a comprehensive evaluation of the integrity of your newly installed LS2 Intake Manifold, utilize a pressure tester. This tool allows you to apply controlled pressure to the system, enabling you to pinpoint any areas where leaks may be occurring. By conducting this test, you can verify the effectiveness of the installation and address any issues proactively.
Reconnecting the Battery
Proper procedure for reconnecting
Before proceeding with starting your engine, follow the proper procedure for reconnecting the battery. Begin by reattaching the positive terminal first, followed by securing the negative terminal. Ensuring a secure connection will provide power to your engine system and allow for a successful startup without any electrical complications.
Starting the Engine
Initial startup procedure
When initiating the engine after installing the LS2 Intake Manifold, adhere to the initial startup procedure. Turn the ignition key to start position and allow the engine to prime before engaging fully. This step ensures that all components are functioning correctly before full operation.
Checking for proper operation
After starting your engine, carefully monitor its operation to confirm proper functionality. Listen for any unusual noises or vibrations and observe any warning lights on your dashboard. Conduct a brief assessment of overall performance to validate that your LS1 engine with an LS2 Intake Manifold is running smoothly and efficiently.
In conclusion, the installation process of the LS2 intake manifold on an LS1 engine involves meticulous steps to ensure optimal performance. Maintaining the new intake manifold is essential for longevity and efficiency. Regular inspections for leaks and proper torque specifications play a crucial role in upkeep. For complex issues or professional guidance, seeking assistance is highly recommended. Share your experiences or questions with fellow enthusiasts to enhance knowledge and expertise in automotive upgrades.
Post time: Jul-01-2024


