


The General Motors Flexplate GM 6.0L Engines is essential for connecting the engine to the transmission, ensuring smooth operation. This Engine Flexplate is designed to withstand the rigors of daily driving, preventing common issues such as cracks, worn ring gears, or loose bolts that can disrupt performance. Cracks in the Automatic Transmission Flexplate often lead to loud knocking sounds, while worn gears can make starting difficult. Timely repairs and replacements of the 6.5 Diesel Flexplate can prevent costly engine or transmission damage, keeping your vehicle running efficiently.
Understanding the General Motors Flexplate GM 6.0L Engines
Role of the flexplate in engine and transmission systems
The flexplate plays a critical role in connecting the engine to the transmission in automatic vehicles. It acts as a bridge, transferring power from the engine to the torque converter, which then drives the transmission. This ensures smooth power delivery and efficient operation. In GM 6.0L engines, the flexplate also houses a ring gear with teeth that engage with the starter motor, enabling reliable engine ignition.
The design of the GM 6.0L LS truck engine includes a unique crankshaft configuration, which directly impacts the compatibility of the flexplate with various transmissions. For instance, the stock LS flexplate works seamlessly with the 4L80E transmission, while other setups, like the TH350, require specific modifications to ensure proper fitment.
Key features of the GM 6.0L flexplate design
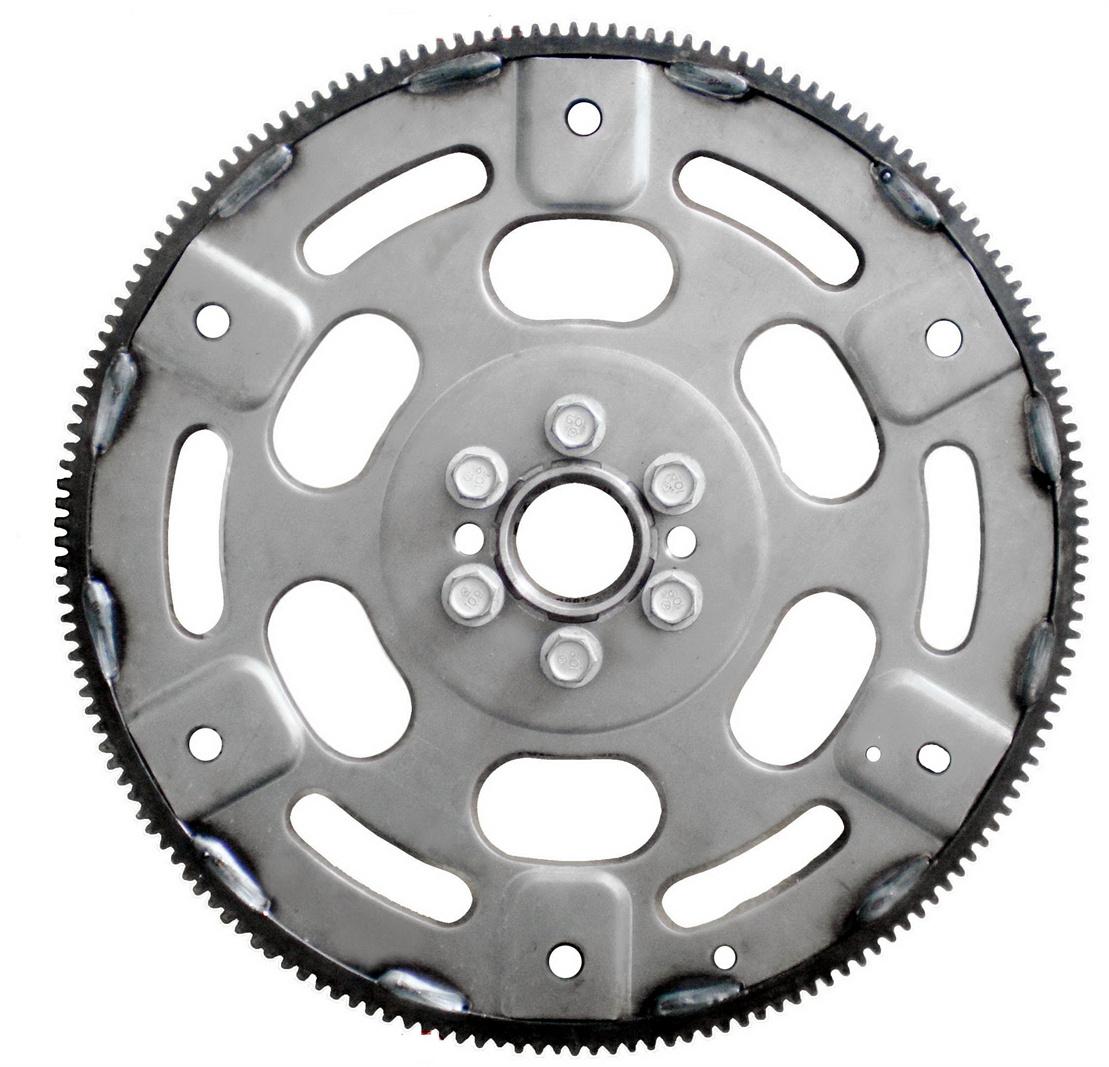
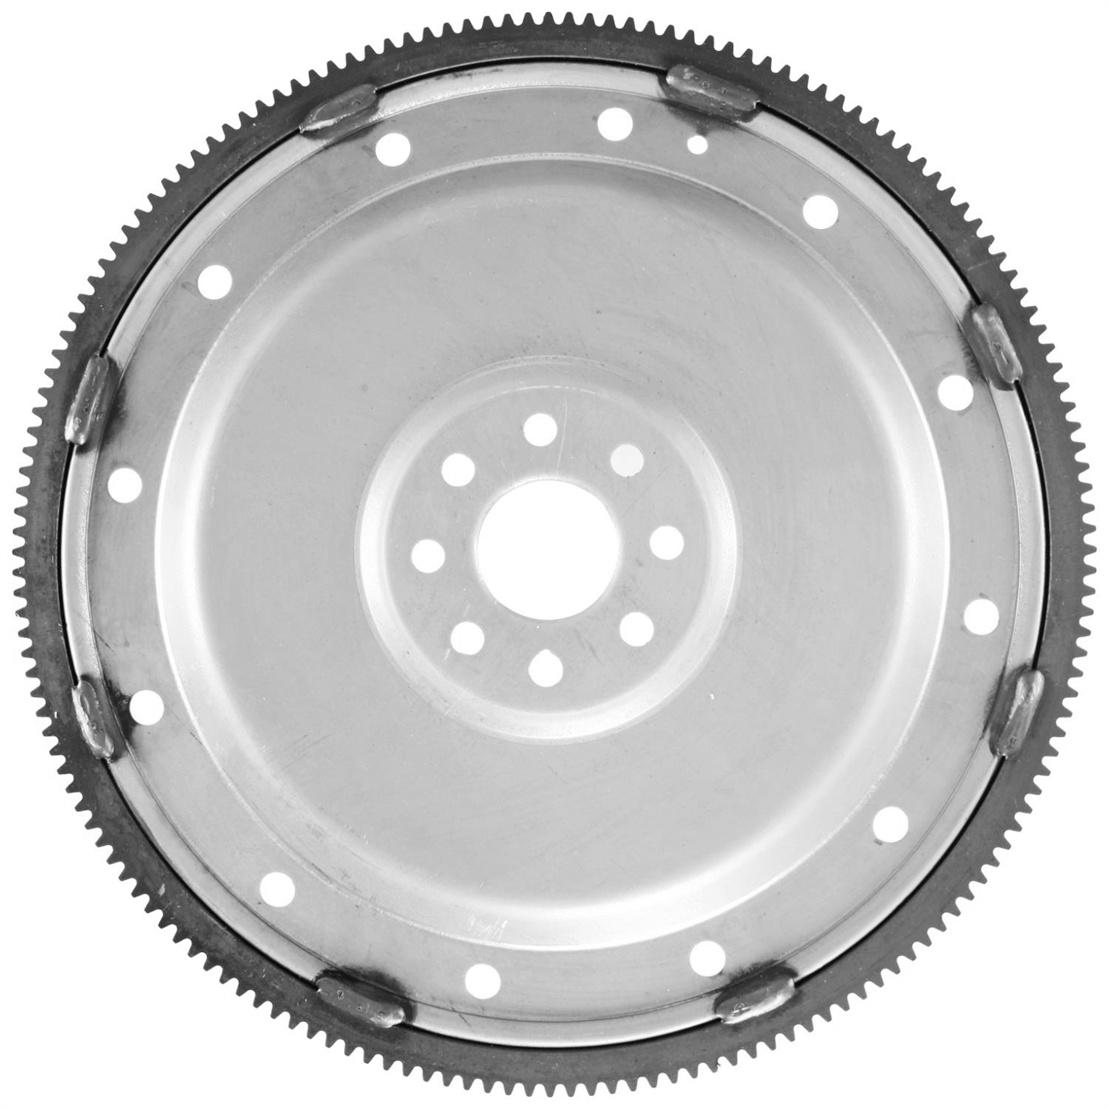
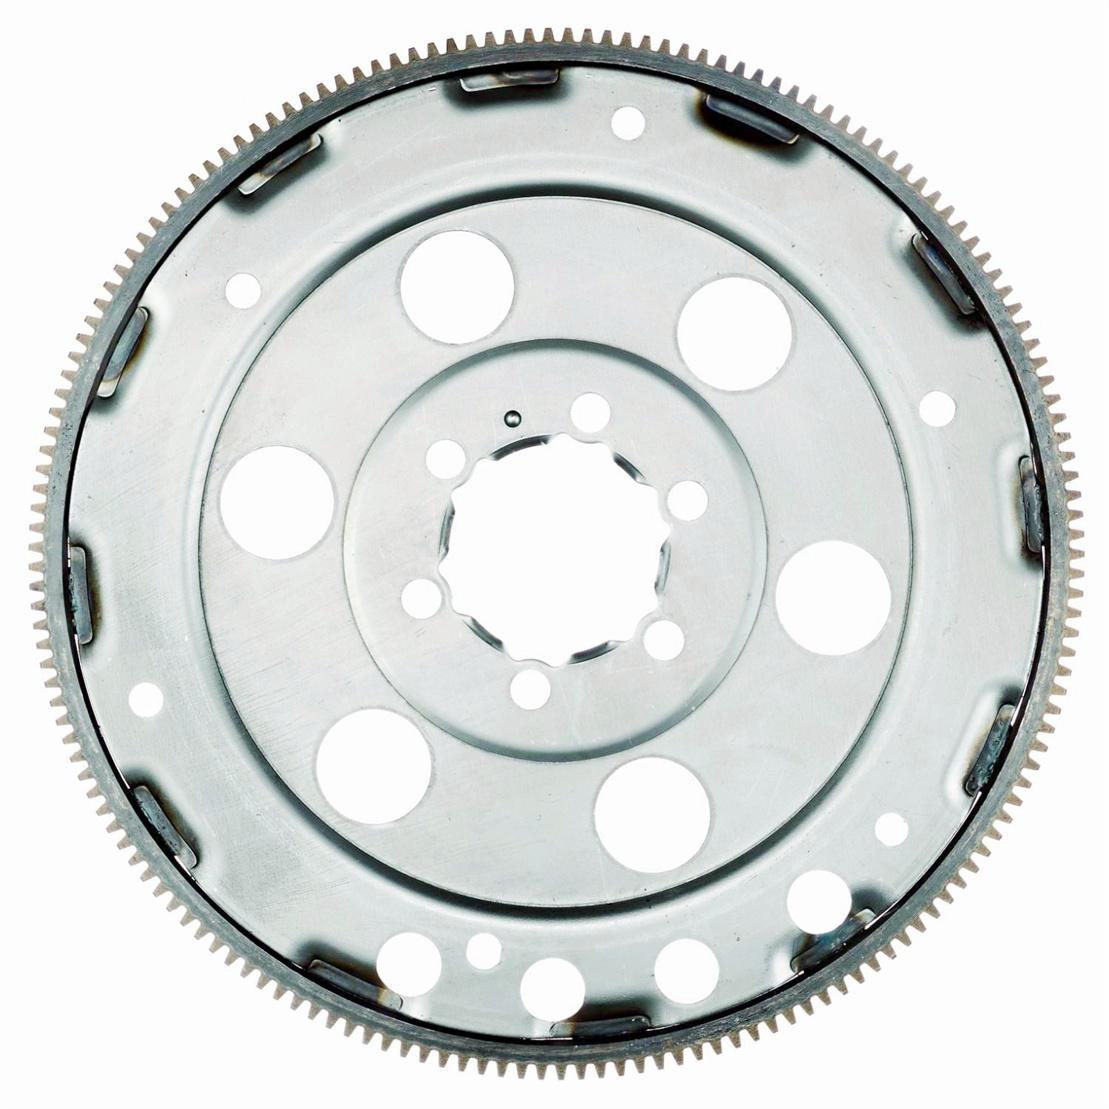
The General Motors Flexplate GM 6.0L Engines is engineered for durability and precision. It features a robust steel construction, making it capable of withstanding the stresses of daily driving and heavy-duty applications. The flexplate includes 168 teeth along its outer edge, ensuring smooth engagement with the starter motor.
Its design also accommodates different crankshaft configurations, such as short and long crankshafts, and provides compatibility with transmissions like the 4L80E and TH400. The bolt patterns and dimensions are carefully specified to ensure a perfect fit, reducing the risk of misalignment or damage during installation.
Common signs of flexplate failure
A failing flexplate can cause noticeable symptoms that affect vehicle performance. Drivers may hear unusual knocking or clunking noises, especially when starting the engine or shifting gears. Vibrations felt through the vehicle’s floor or steering wheel can also indicate a damaged flexplate.
Starting issues, such as the engine failing to crank or turning over slowly, often point to worn or damaged teeth on the flexplate’s ring gear. Ignoring these signs can lead to more severe problems, including transmission damage or complete engine failure.
Diagnosing Flexplate Issues in GM 6.0L Engines
Symptoms of a damaged flexplate
A damaged flexplate in GM 6.0L engines often reveals itself through noticeable symptoms. Drivers may hear unusual noises, such as rattling or grinding, which could indicate a loose or cracked flexplate. Vibrations felt while idling or driving might suggest an imbalance caused by flexplate damage. Starting issues, like the engine struggling to crank or failing to start, can also point to worn or broken teeth on the flexplate’s ring gear. These symptoms should not be ignored, as they can lead to more severe engine or transmission problems.
Steps for visual inspection of the flexplate
Inspecting the flexplate visually can help confirm potential issues. Follow these steps:
- Listen for strange noises, such as rattling or grinding, when starting the engine or shifting gears.
- Check for transmission problems, like difficulty shifting or erratic gear changes.
- Look for visible cracks, worn teeth, or loose bolts on the flexplate.
- Notice any harsh vibrations during gear shifts or while idling.
- Be aware of increased fuel consumption or burning smells, which may indicate excessive friction.
- Monitor the check engine light, as it might signal flexplate irregularities.
- Consider the vehicle’s age and mileage, as older flexplates are more prone to failure.
- If unsure, consult a professional mechanic for a thorough inspection.
Tools and techniques for accurate diagnosis
Accurately diagnosing flexplate issues requires the right tools and techniques. Start by listening for unusual noises, such as knocking or grinding, which often indicate cracks or damage. Check for excessive vibrations, especially when idling, as this could signal an imbalance. Use a flashlight to inspect the flexplate for cracks, worn teeth, or loose bolts. For precise measurements, employ diagnostic tools like dial indicators to check for misalignment or excessive crankshaft run-out. These methods ensure a reliable diagnosis, helping to address flexplate problems effectively.
Causes of Flexplate Damage
Misalignment between engine and transmission
Misalignment between the engine and transmission is one of the most common causes of flexplate damage. When these components are not properly aligned, the flexplate experiences uneven stress. Over time, this can lead to cracks or warping. Misalignment often occurs due to worn engine mounts or improper installation of the transmission. Drivers might notice vibrations or unusual noises, especially during acceleration. Addressing alignment issues promptly can prevent further damage to the General Motors Flexplate GM 6.0L Engines and other related components.
Worn or damaged components (e.g., torque converter, bolts)
Worn or damaged parts, such as the torque converter or mounting bolts, can also harm the flexplate. A faulty torque converter may cause excessive strain on the flexplate, leading to cracks or fractures. Loose or damaged bolts can result in improper fastening, which increases the risk of misalignment. Regular inspections of these components are crucial. Mechanics recommend checking for signs of wear, such as stripped threads or visible damage, to ensure the flexplate operates smoothly.
Improper installation or incorrect torque specifications
Improper installation is another major factor contributing to flexplate damage. If the flexplate is not installed correctly or the bolts are not tightened to the manufacturer’s torque specifications, it can lead to uneven stress distribution. This often results in premature wear or failure. Using a torque wrench during installation ensures that bolts are tightened to the correct specifications. Following the manufacturer’s guidelines is essential for maintaining the durability and performance of the flexplate.
Tip: Always consult your vehicle’s service manual for proper installation procedures and torque specifications to avoid costly mistakes.
Step-by-Step Repair Guide for General Motors Flexplate GM 6.0L Engines
Tools and materials required for the repair
Before starting the repair, gather all the necessary tools and materials. This ensures a smooth and efficient process. Here’s what you’ll need:
- A socket set and torque wrench for loosening and tightening bolts.
- A transmission jack to safely remove and reinstall the transmission.
- A flashlight or inspection light for better visibility.
- A replacement flexplate compatible with GM 6.0L engines.
- Crankshaft mounting bolts and a hub spacer, if not included with the flexplate.
- Safety gear, including gloves and safety glasses.
Safety precautions to follow during the process
Safety should always come first when working on vehicle repairs. Follow these precautions:
- Disconnect the battery to prevent accidental electrical shocks.
- Use a sturdy jack stand to support the vehicle securely.
- Wear gloves to protect your hands from sharp edges and hot surfaces.
- Ensure the work area is well-lit and free of clutter to avoid accidents.
Tip: Always double-check that the vehicle is stable before working underneath it.
Removing the transmission to access the flexplate
To access the flexplate, the transmission must be removed. Start by disconnecting the driveshaft and transmission cooler lines. Then, unbolt the transmission from the engine and carefully lower it using a transmission jack. This step requires patience and precision to avoid damaging surrounding components.
Inspecting the flexplate and related components for damage
Once the transmission is out, inspect the flexplate for cracks, worn teeth, or warping. Check the torque converter and mounting bolts for signs of wear or damage. Replace any faulty components to ensure the new flexplate operates smoothly.
Installing the new flexplate and ensuring proper alignment
Install the new flexplate by aligning it with the crankshaft. For GM 6.0L engines paired with the 4L80E transmission, retain the stock LS flexplate for proper alignment. If using a TH350 transmission, replace the torque converter with a TH400 converter to ensure compatibility. Tighten the crankshaft bolts evenly to secure the flexplate in place.
Torque specifications and reassembly process
Follow the LS Engine Flexplate Fitment Guide for torque specifications. Confirm the torque converter bolt pattern to avoid delays during reassembly. Once the flexplate is secured, reinstall the transmission, ensuring proper alignment with the engine. Reconnect all components, including the driveshaft and cooler lines, before testing the vehicle.
Note: Proper torque specifications are crucial for preventing future issues with the General Motors Flexplate GM 6.0L Engines.
Diagnosing and repairing flexplate issues early keeps the engine and transmission in top shape. Regular inspections catch problems before they escalate, saving money and extending the transmission’s lifespan. Proper installation and alignment are essential for reliability. Maintaining the flexplate ensures smooth power transfer and prevents costly repairs down the road.
Tip: Schedule routine checks to spot minor issues and avoid major damage!
FAQ
What are the signs that my GM 6.0L flexplate needs replacement?
Look for loud knocking sounds, vibrations, or starting issues. Worn teeth or visible cracks on the flexplate also indicate it’s time for a replacement.
Tip: Regular inspections can catch these issues early and save you money!
Can I replace the flexplate myself, or should I hire a mechanic?
Replacing a flexplate requires tools, safety precautions, and mechanical skills. DIY enthusiasts can handle it, but hiring a professional ensures proper installation and alignment.
How often should I inspect my flexplate for damage?
Inspect the flexplate during routine maintenance or every 50,000 miles. Frequent checks help spot minor issues before they escalate into costly repairs.
Note: Always follow your vehicle’s service manual for maintenance schedules.
Post time: Mar-31-2025