


The Engine Exhaust Manifold is a vital component in your vehicle’s exhaust system, responsible for collecting exhaust gases from multiple cylinders and directing them to the exhaust pipe. Signs indicating a failing 2010 Jeep Wrangler exhaust manifold include noisy engine operation, foul odors, decreased fuel efficiency, sluggish acceleration, and illuminated check engine lights. Understanding these indicators is crucial as neglecting them can lead to more severe issues. Today, we will provide you with a comprehensive guide on replacing the exhaust manifold to ensure optimal performance of your Jeep Wrangler.
Tools and Materials Needed
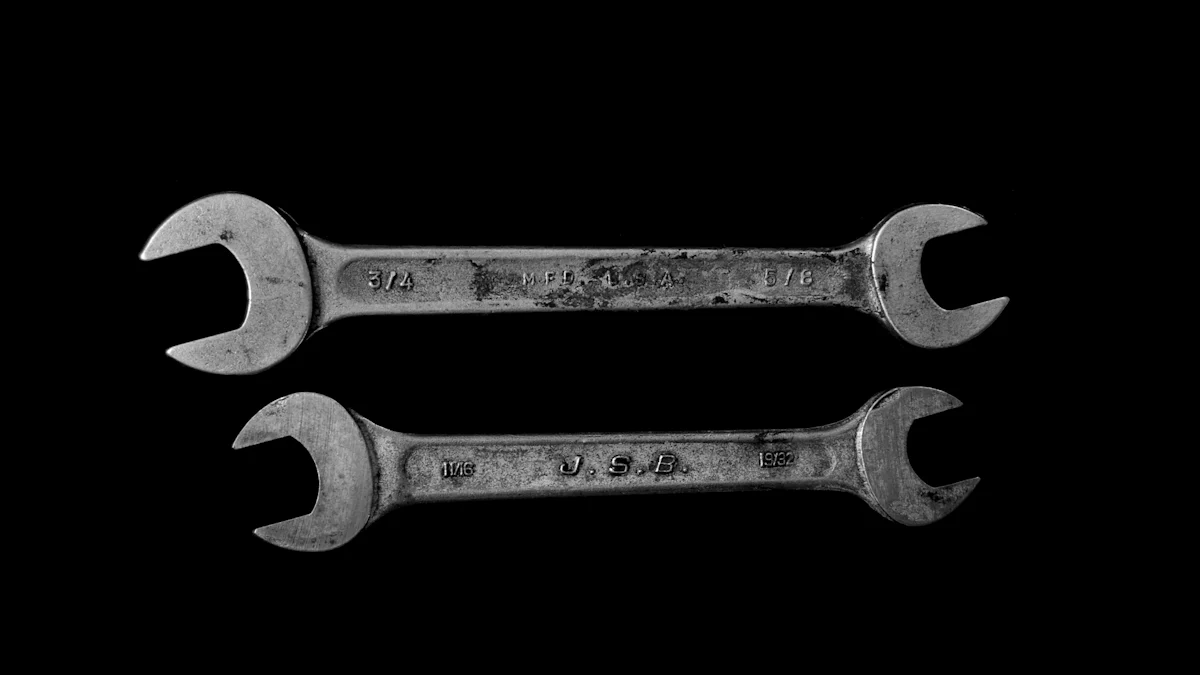
List of Tools
1. Wrenches and Sockets
2. Screwdrivers
3. Torque Wrench
4. Penetrating Oil
List of Materials
1. New Exhaust Manifold
2. Gaskets
3. Bolts and Nuts
4. Anti-seize Compound
In the realm of automotive repairs, having the right tools and materials is paramount to a successful outcome. Proper preparation ensures efficiency and accuracy in the task at hand.
When embarking on the journey to replace your 2010 Jeep Wrangler exhaust manifold, arm yourself with a set of Wrenches and Sockets to tackle the various bolts securing the manifold in place. These tools provide the necessary leverage to loosen and tighten components effectively.
Next on your arsenal should be a selection of Screwdrivers – essential for intricate tasks such as removing smaller screws or prying off components gently without causing damage.
A Torque Wrench is a precision tool that guarantees accurate tightening of bolts to manufacturer specifications, preventing under or over-tightening that could lead to issues down the road.
To aid in disassembling rusty or stubborn fasteners, make sure to have Penetrating Oil on hand. This lubricant seeps into tight spaces, breaking down rust and corrosion for easier removal of nuts and bolts.
Moving on to materials, acquiring a New Exhaust Manifold is the core component of this project. Ensure compatibility with your Jeep Wrangler’s model year for a seamless fit and optimal performance.
Gaskets play a crucial role in creating a tight seal between components, preventing exhaust leaks. Include high-quality Gaskets in your lineup to guarantee airtight connections within the exhaust system.
Securing everything together are Bolts and Nuts, vital for affixing the new manifold securely in place. Opt for durable hardware that withstands high temperatures and vibrations for long-lasting reliability.
Lastly, don’t overlook the importance of an Anti-seize Compound during installation. This compound prevents metal components from seizing together due to heat exposure, making future maintenance more manageable while extending the lifespan of your exhaust system components.
Preparation Steps
Safety Precautions
Disconnecting the Battery
To ensure a safe working environment, begin by disconnecting the battery. This precaution prevents any electrical mishaps during the replacement process. Remember, safety first.
Ensuring the Engine is Cool
Before proceeding further, make sure that the engine has cooled down adequately. Working on a hot engine can lead to burns and injuries. Take your time and allow the engine to cool completely before starting the replacement.
Vehicle Setup
Lifting the Vehicle
Elevate your Jeep Wrangler using an appropriate lifting mechanism. This step provides easier access to the underside of the vehicle where the exhaust manifold is located. Ensure stability and secure positioning before moving forward.
Securing the Vehicle on Jack Stands
Once lifted, support your vehicle securely on jack stands. This additional safety measure prevents any accidental movement while you work underneath. Confirm that the jack stands are correctly positioned and holding the weight of the vehicle effectively.
By following these meticulous preparation steps, you set a solid foundation for a successful exhaust manifold replacement on your 2010 Jeep Wrangler. Remember, attention to detail ensures a smooth and efficient repair process, leading to optimal performance of your vehicle’s exhaust system in no time.
Removing the Old Exhaust Manifold
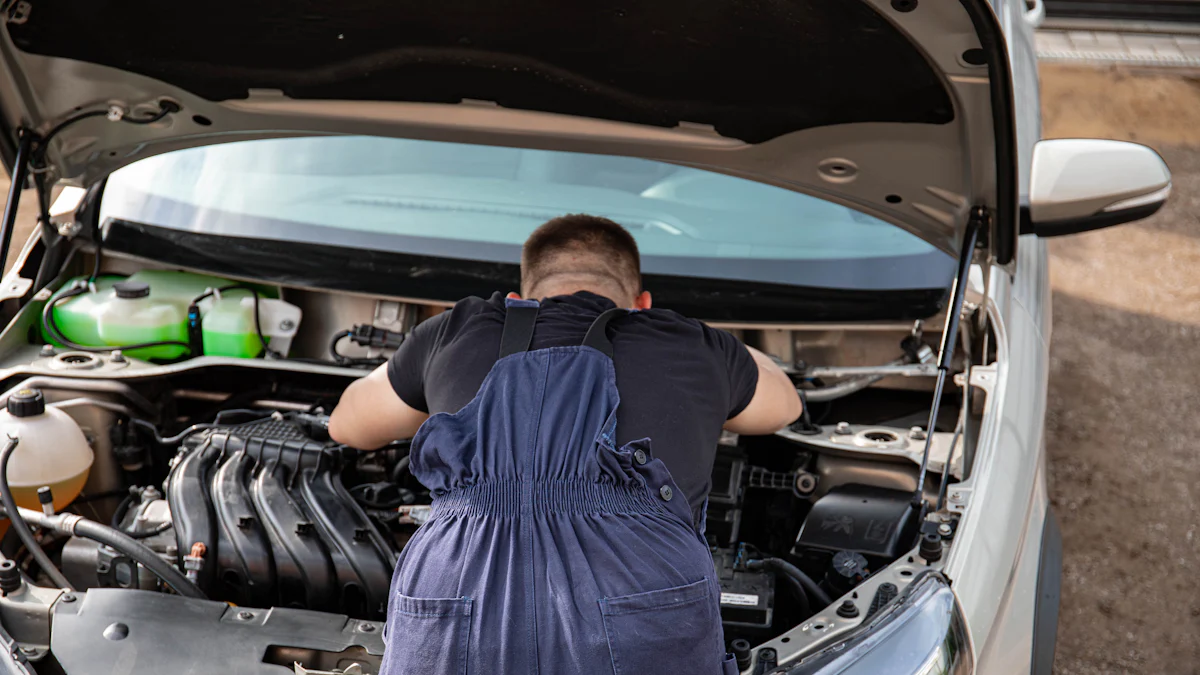
Accessing the Exhaust Manifold
To access the 2010 Jeep Wrangler exhaust manifold, start by Removing the Engine Cover. This step allows clear visibility and space to work on the manifold without any obstructions. Once the cover is off, proceed to Disconnecting the Exhaust Pipe connected to the manifold. This disconnection is essential for later removal of the old manifold.
Unbolting the Exhaust Manifold
Begin by Applying Penetrating Oil to the bolts and nuts securing the exhaust manifold. This oil helps in loosening rusted or stuck fasteners, making them easier to remove. Next, carefully Removing Bolts and Nuts one by one using appropriate tools and techniques. Take your time to avoid damaging surrounding components during this process. Finally, gently Detaching the Exhaust Manifold from its position once all bolts and nuts are removed.
Installing the New Exhaust Manifold
Preparing the New Manifold
Applying Anti-seize Compound
To ensure a secure and durable connection, the mechanic meticulously applies an Anti-seize Compound to the bolts and nuts. This compound acts as a protective barrier against corrosion and heat, enhancing the longevity of the exhaust system.
Positioning the Gaskets
With precision and care, the installer strategically positions the Gaskets between the new exhaust manifold and the engine block. These gaskets play a critical role in maintaining a tight seal, preventing any leaks that could compromise the efficiency of the exhaust system.
Attaching the New Manifold
Aligning the Manifold
The technician diligently aligns the new exhaust manifold with the corresponding mounting points on the engine block. Proper alignment is essential for a seamless installation process and ensures optimal performance of the exhaust system.
Tightening Bolts and Nuts
Using calibrated tools, the professional systematically tightens each bolt and nut securing the exhaust manifold. This meticulous approach guarantees that all components are securely fastened, minimizing any risks of loosening or detachment during vehicle operation.
Using a Torque Wrench
Employing precision equipment like a Torque Wrench, the expert carefully applies specific torque values to each bolt. This step is crucial in achieving uniform tightness across all fasteners, preventing uneven pressure distribution that could lead to leaks or component damage.
Final Steps
Reconnecting Components
Reattaching the Exhaust Pipe
- Align the exhaust pipe with precision to ensure a proper fit.
- Secure the connection by tightening the bolts evenly using a torque wrench.
- Confirm that the exhaust pipe is firmly in place before proceeding.
Replacing the Engine Cover
- Position the engine cover back onto its designated location.
- Fasten the cover securely using the appropriate screws or clips.
- Ensure that the engine cover is correctly aligned and fully secured to prevent any vibrations during operation.
Testing the Installation
Reconnecting the Battery
- Reconnect the battery terminals in their respective positions.
- Double-check the connections to guarantee a secure and stable attachment.
- Verify that there are no loose cables or improper fittings before moving forward.
Starting the Engine
- Initiate the engine start-up process to test functionality.
- Listen for any unusual sounds or vibrations that may indicate installation issues.
- Allow the engine to run for a brief period to ensure smooth operation before proceeding.
Checking for Leaks
- Inspect all connection points for potential leaks, especially around the newly installed exhaust manifold.
- Use a flashlight to carefully examine areas prone to leakage, such as gasket seals and bolt connections.
- Address any leaks promptly by adjusting connections or replacing components if necessary to maintain optimal performance of your Jeep Wrangler’s exhaust system.
Remember, thorough testing and inspection are crucial steps in ensuring a successful replacement of your 2010 Jeep Wrangler’s exhaust manifold. By following these final steps diligently, you can verify the quality of your work and enjoy improved performance from your vehicle’s exhaust system.
- In summary, the meticulous process of replacing the exhaust manifold on a 2010 Jeep Wrangler ensures optimal performance and longevity of your vehicle’s exhaust system.
- When embarking on such repairs, remember to prioritize safety precautions and thorough preparation for a successful outcome.
- Additional tips include securing hoses above the waterline to prevent boat sinking incidents due to unplugged exhaust ports.
- Consider Werkwell‘s products, like the Harmonic Balancer, for reliable automotive solutions.
- Remember, seeking professional help when needed guarantees efficient repairs and peace of mind.
Post time: Jun-18-2024